Containing the Laser is a Critical
The final design aspect of the laser cutter is to create an enclosure for the mechanisms, laser optics, and electronics. This step is often overlooked by others making a laser cutter as the enclosure can seem like a nice-to-have feature, but it is a critical safety feature.
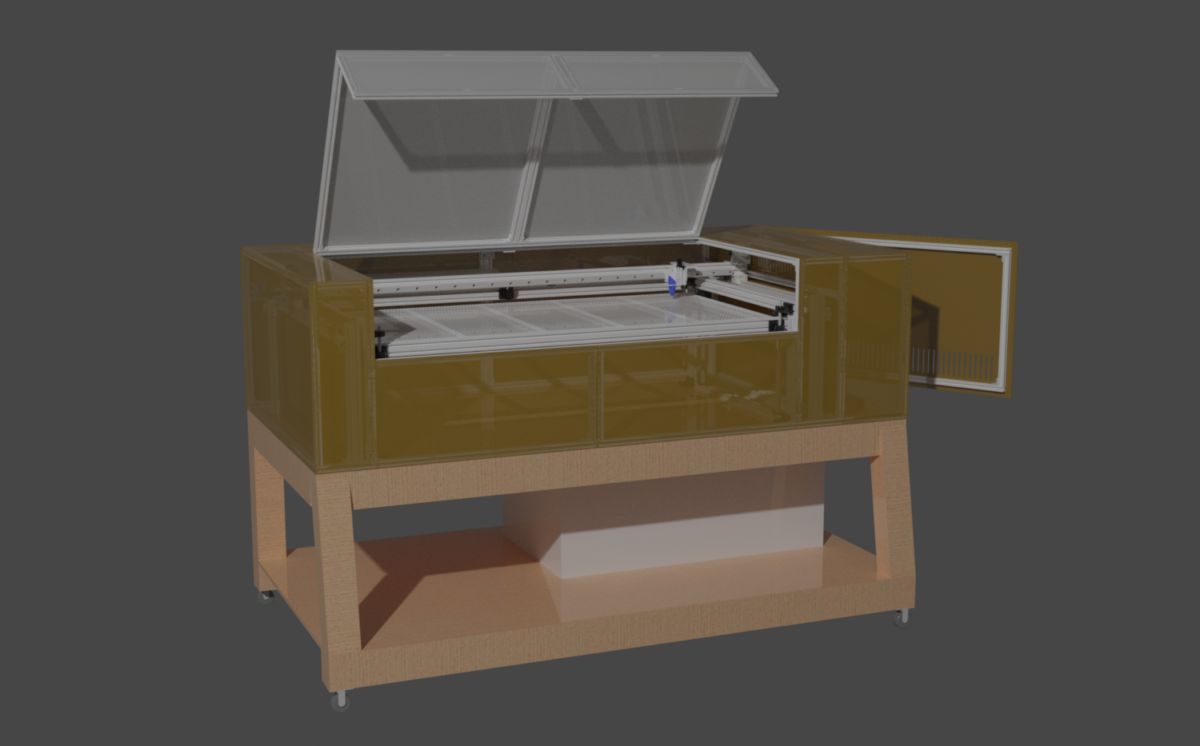
A typical CO2 laser tube produces light at a 10.6-micrometer wavelength. This is classified as infrared light and is invisible to humans. The tube power of 40W or above also ranks the laser as a class 4, the highest available rank, laser. This means the laser can cause instant blindness, burns, and other damage not just from the beam itself but any reflections cast from nearly any material. The laser enclosure is an important part of the laser that keeps the light inside and away from anyone. Aside from the physical protection of the wall, the door of the enclosure can be attached to a switch that disables the laser when anything tries to enter the enclosure.

It’s also worth mentioning that a laser cutter is a moving machine. It has many pinch points and moving features that could catch and damage limbs. The enclosure further protects the laser and people from damage by keeping everything out of the way of the gantry and bed lift.
Designing the Enclosure
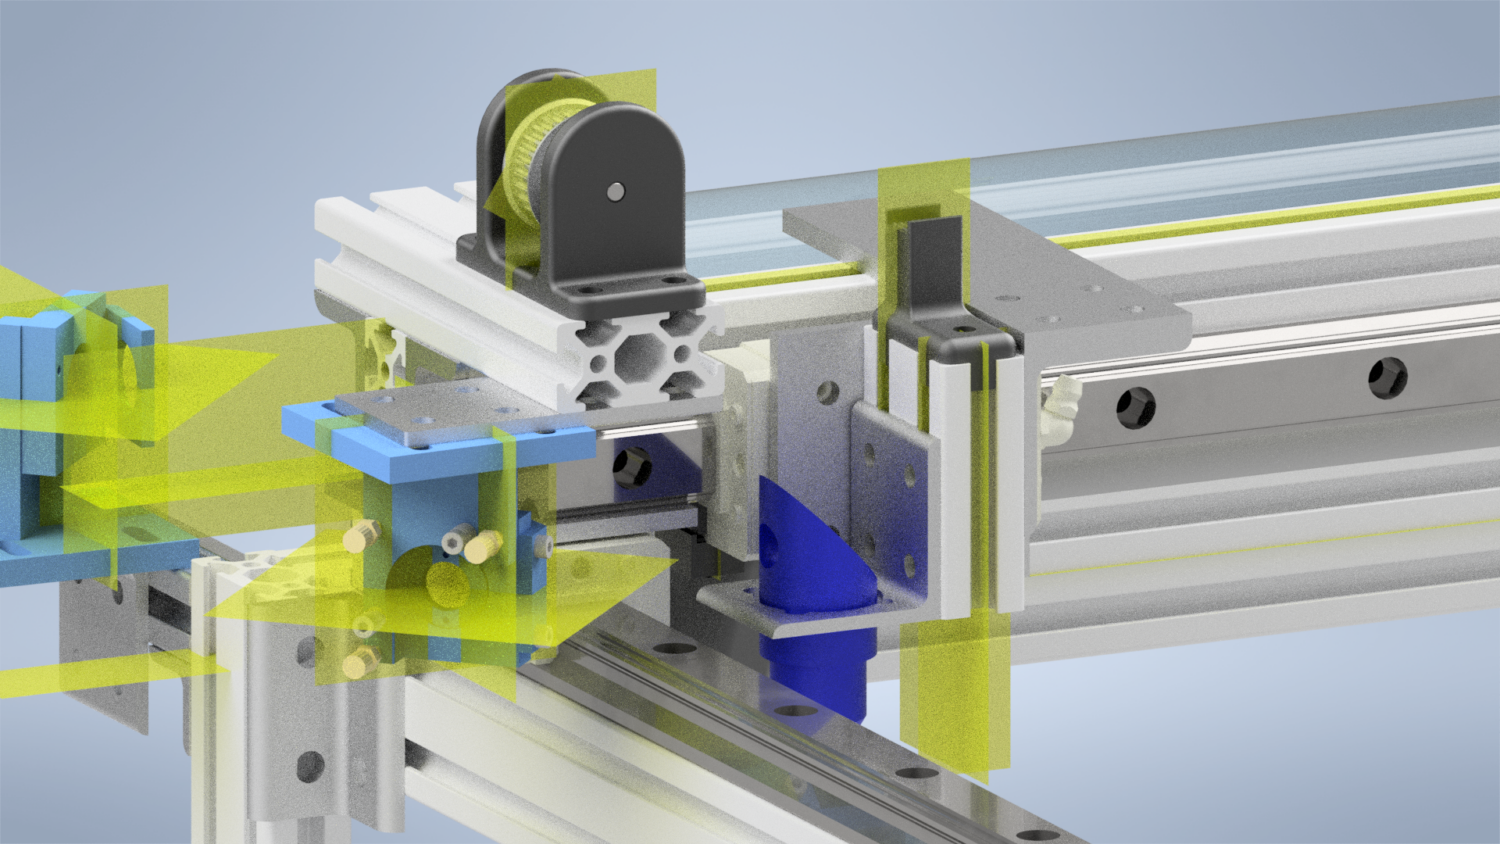
The shell of the k400 laser cutter will be built in the same style as the rest of the machine. It uses a 2020 aluminum extrusion frame to support panels of acrylic and plywood to form a complete shell.
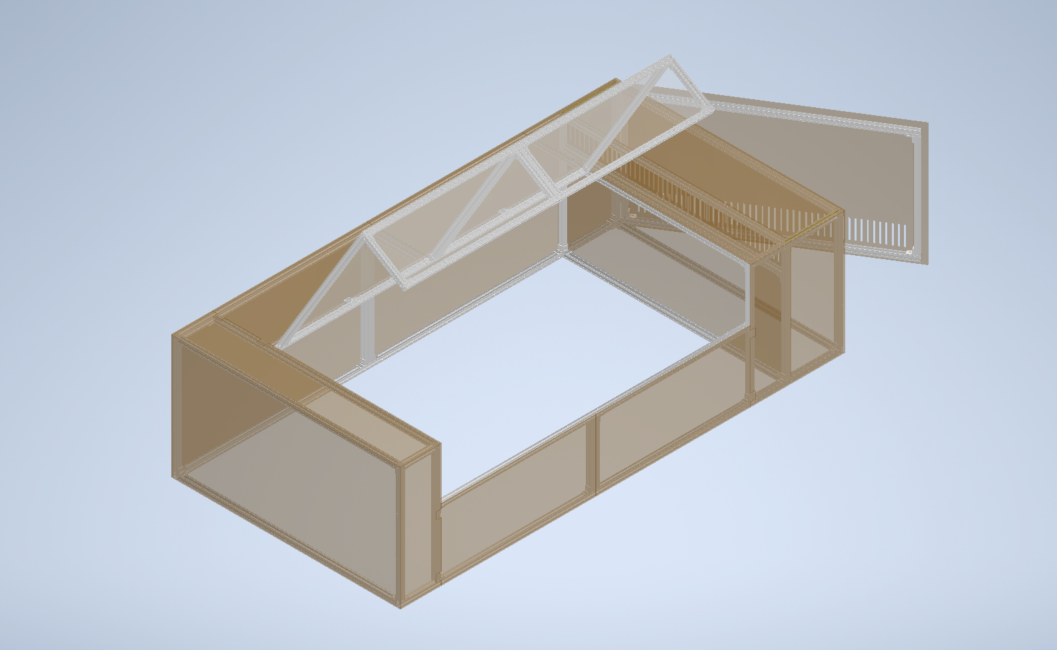
The shell does not need to be nearly as rigid as the gantry because any deflection will not affect the output of the laser, so a 20 mm square extrusion will be sufficient for every span. However, on a couple of sections, I chose to use 20 mm by 40 mm extrusion because it leaves two rows of slots for securing screws on the panels. It saves cost to use less material on the panels, but spend more for a thicker extrusion because the panels can be packed better onto sheets of material.
During the layout of the panels, some different shapes were chosen to improve the layout efficiency as they were cut. The laser cutter is big enough to cut panels as big as 48″ x 24″, but it is not efficient to have an odd-shaped panel that is the entire size of the cutting area. Making smaller rectangular panels means that they may be packed more efficiently into the stock material.
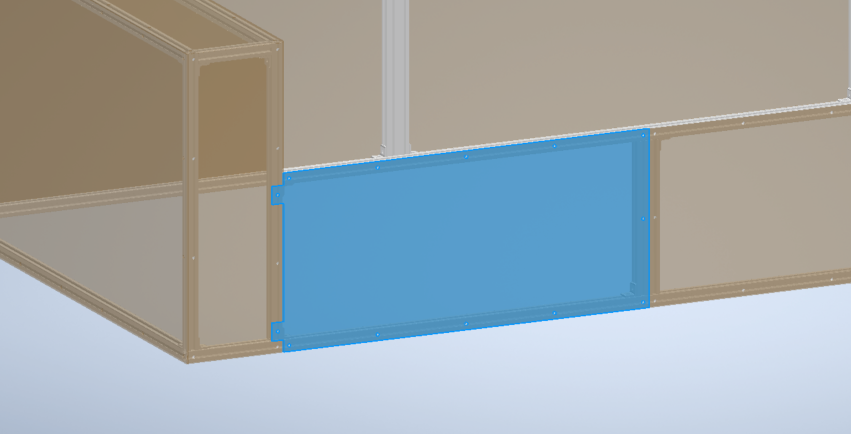
Using this design guide, the panels for all of the laser cutter come out to 10 sheets of material, with 8 of those being plywood for the body and 2 of acrylic for the door window.
Electronics Cabinet
From the laser tube power supply to the controller and stepper drivers, the laser cutter has a variety of electronic circuits and needs a place for them. The shell sections off a portion of the laser cutter to form an electronics cabinet. The top of the cabinet can be used for human-machine interface, ie the buttons and knobs.
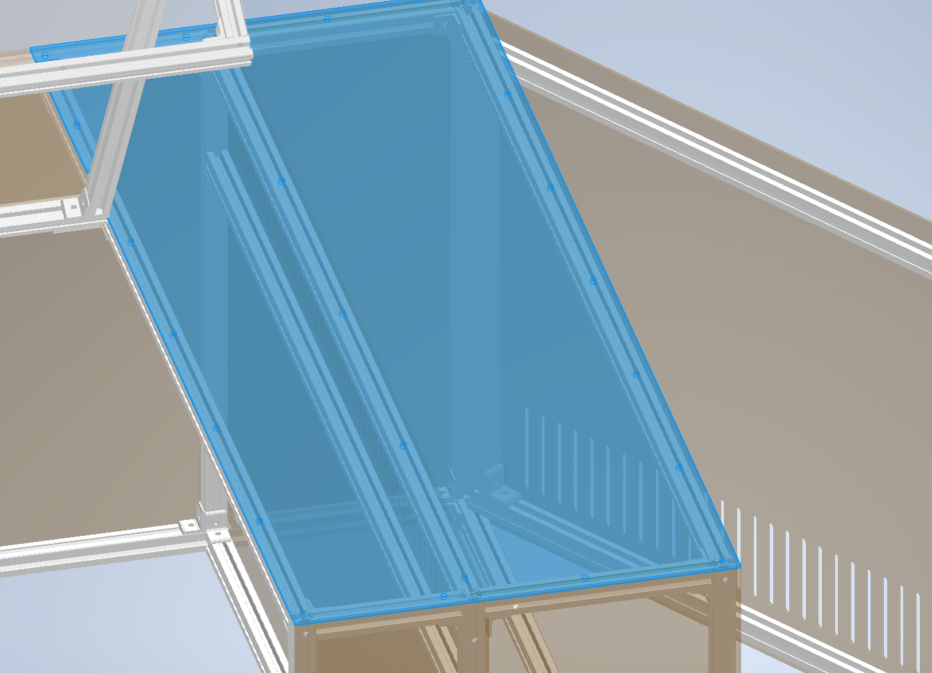
As the electronics heat the cabinet some ventilation is required. The laser pulls air in the bottom of the electronics cabinet, and then out the top. Plus it repurposes this air by blowing it over the cutting area to evacuate smoke. Then only a single exhaust fan is needed for the laser to remove smoke and cool electronics. Win-Win.
Doors
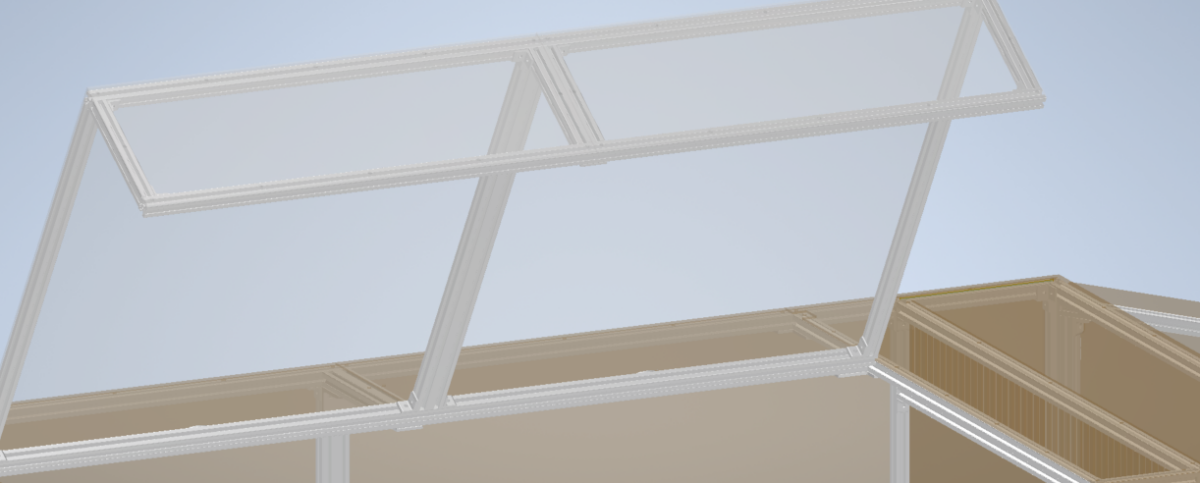
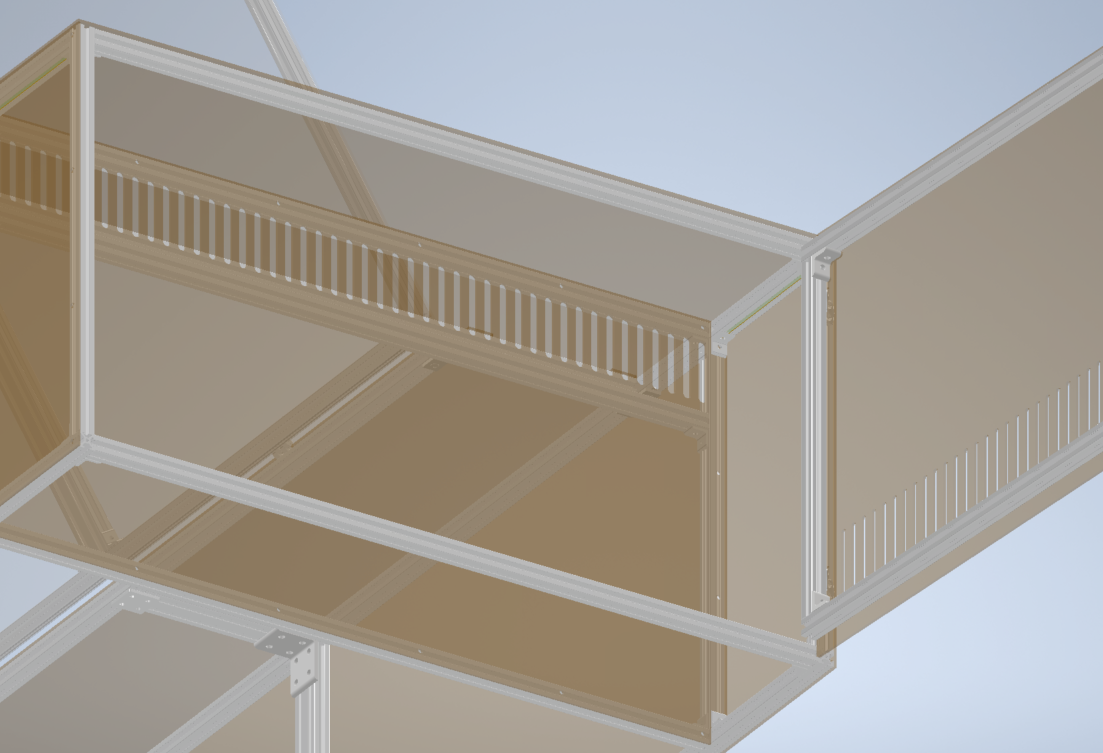
The laser cutter has two doors on it, the main door to the bed of the laser cutter, and a side door to access electronics. Each door is attached with two hinges that were sourced from McMaster to be compatible with aluminum extrusion.
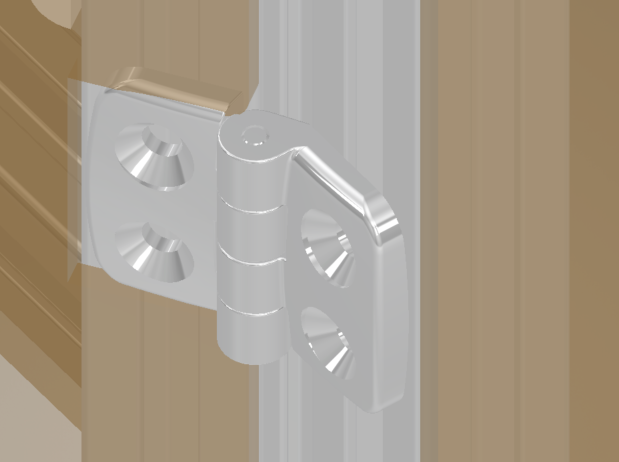
The doors are very different sizes, but both have the same hinge used. Down the road, the bed hinge may need to be upgraded if the joint is too weak or wobbly.
Next Steps
With the design done and qualified, it’s time to start assembly of the laser cutter. Extrusion and brackets will be cut and assembled to form the laser starting with the bed lift system.

Other Project Updates
See the rest of the project posts below:
What more do we offer?
Discover other great products and stories: