Reduce Reuse Recycle
The whole idea of this project was to reuse as many pieces of my current laser cutter: the K40 generic laser cutter, and was inspired by the DIY laser cutter Layzor. I planned to harvest the laser tube, power supply, controller, mirrors, and lens which would make getting a new laser significantly more budget-friendly. In addition to this, I had an air pump as well as a water chiller I made from an old RV air conditioner that would be needed for a big laser.


I felt it was fine to sacrifice cut time by reusing the less powerful hardware from the K40. I could later upgrade to more power if I needed to. Most large format laser cutters have an 80-watt or higher laser tube, but the one I have is only 40 watts. This means on average double the cut time which can add up fast on a large bed. But for the price of $0, I am willing to try with the low power.
During the planning process, I had the chance to acquire an old industrial 3D printer. The Dimension SST 768 from Stratasys, to be exact. It is an impressive washing machine-sized tool, with some uncommon features. It used a whole heated chamber rather than a heated bed like most printers, and every axis was driven with powerful Nema 23 stepper motors on 1/2-inch linear rails. Some other design quirks included the dual hot-end that was such a massive chunk of metal that the printer had a dedicated 120-volt DC power supply to drive it. The supply was developed directly by Stratasys because using 120 volts of direct current is almost unheard of, driving directly with AC is much easier. But AC current induces noise into nearby circuits, and it would disrupt the temperature sensors used in the hotend.
I never got the printer working, so I scrapped it for parts. I felt bad destroying such a unique and old device, but space in the workshop was quite limited, so it had to go. I recovered power stepper motors that could drive the laser, a 24, 12, and 5-volt power supply to drive all the electronics, linear rail and linear ball bearing to stabilize the bed as it moves, and a ton of other parts that may be used in other projects.


Design Key Ideas
The goal of this laser cutter is to reuse as much as possible, but not everything can come from the printer. The rest of the design will be built around the 20mm t-slot aluminum extrusion system. These rails can be easily cut to length, then brackets can attach anything to any point on the rails. This is great for customization, as well as changes because bolts are not locked to specific holes and locations.
For the parts that were a little too custom to be purchased, I turned to 3D printing. Specifically, DLP and SLA resin printing. With the Form2 and the Anycubic Photon Mono X, I could print custom parts in engineering resin that would hold up well to wear and stretch from continual loading. The parts that I will print will be the custom features like bearing pillow blocks with specific center locations.
I am designing this cutter in Autodesk Inventor, so the system of assembly may seem a little odd. Sub-assemblies for each major component are constructed and then connected together in a master assembly. This allows be to create sub-systems like the bed and gantry while leaving each one isolated. It uses extra material to support each individual system, but I hope this helps with large loads on the system. For instance, a heavy object on the bed shouldn’t deform the gantry as the two are not connected.
I also recovered GT-style belts and pulleys. These are great for the gantry as the ball-like design minimizes any backlash. If they are good enough to still be in use in nearly every 3D printer, then these belts should be great for the laser cutter.


What is a large format laser anyway?
The k40 laser cutter is a generic design that is widely mass-produced in China. It comes by default with a 12 x 8-inch gantry, and you can fit something 4 inches tall inside of it, but it has no adjustable bed. This was extremely limiting to me since multiple products I sell have to be assembled from two 12 x 8-inch pieces (Examples below).
The plywood I purchased, luan plywood from Lowes, comes in sheets of 2 x 4 feet, so this was the obvious maximum I wanted by cutter to handle because cutting material on the table saw is time-consuming and wasteful compared to a laser. I also hated the lack of an adjustable bed, and that the k40 had a maximum of 4 inches unless I cut out the bottom of the frame. I doubled this in the design to 8 inches of bed travel, and if need be, the bed can be removed to access another 2 inches.
12 x 8 x 4 = 384 cubic inches, and 24*48*8 = 9216 cubic inches of cut volume. The new laser is exactly 24 times bigger.
The Design
I am able to report that the hard part of the design is done. I have the gantry and the bed system completed.
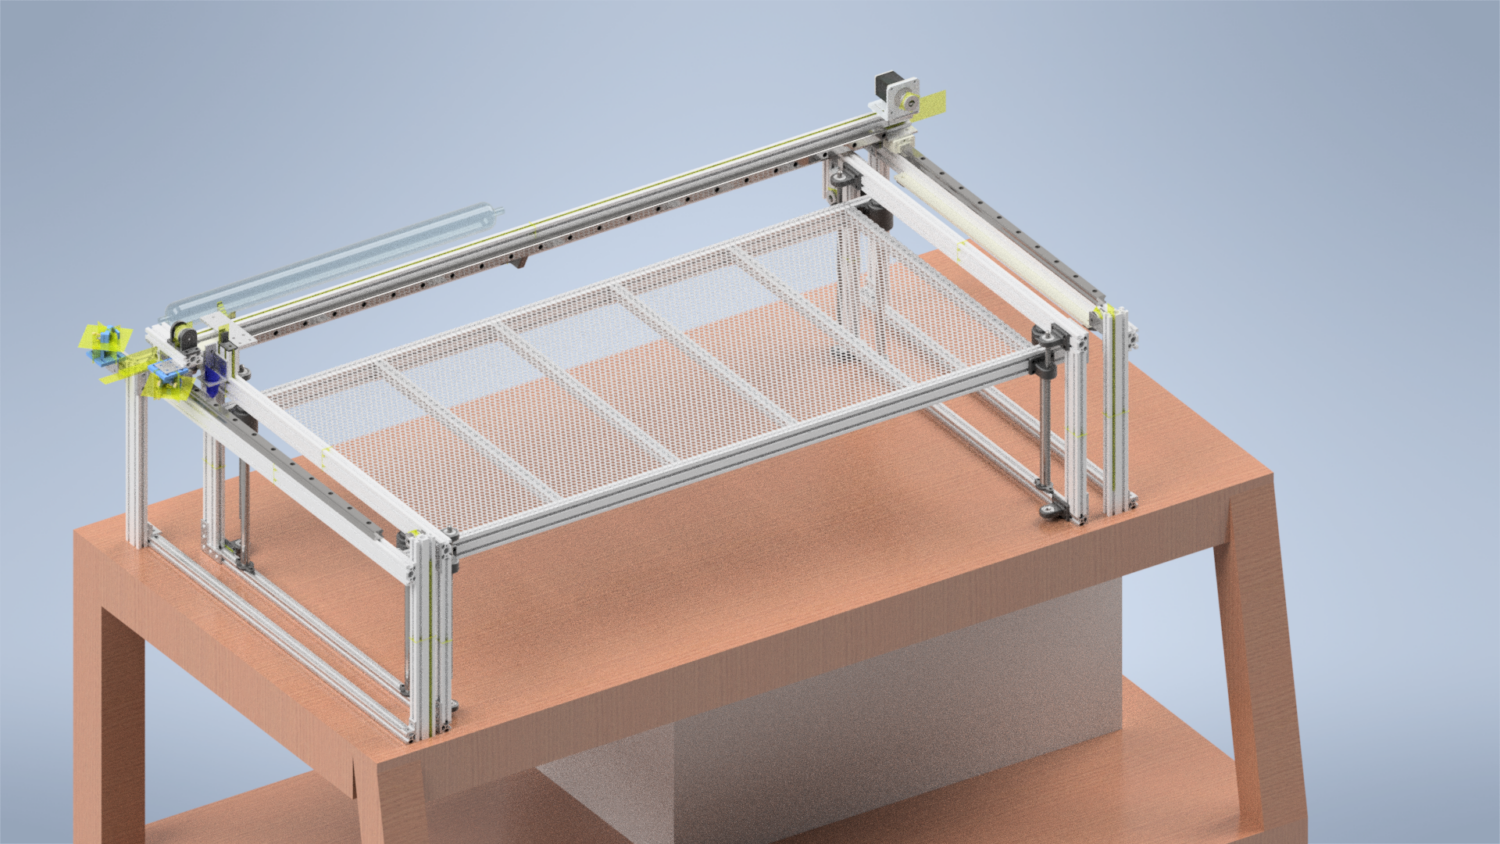
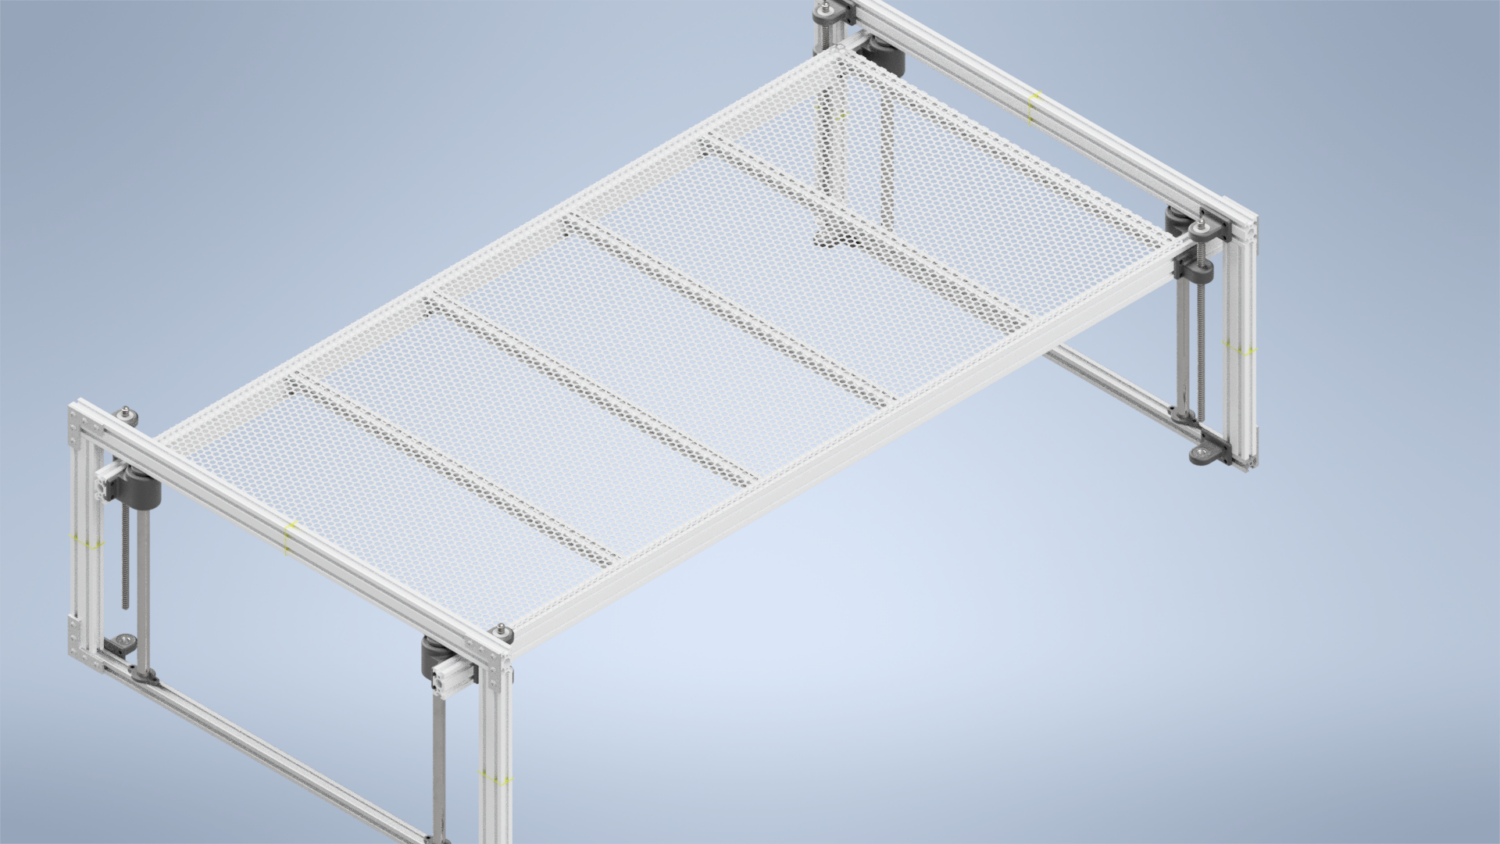
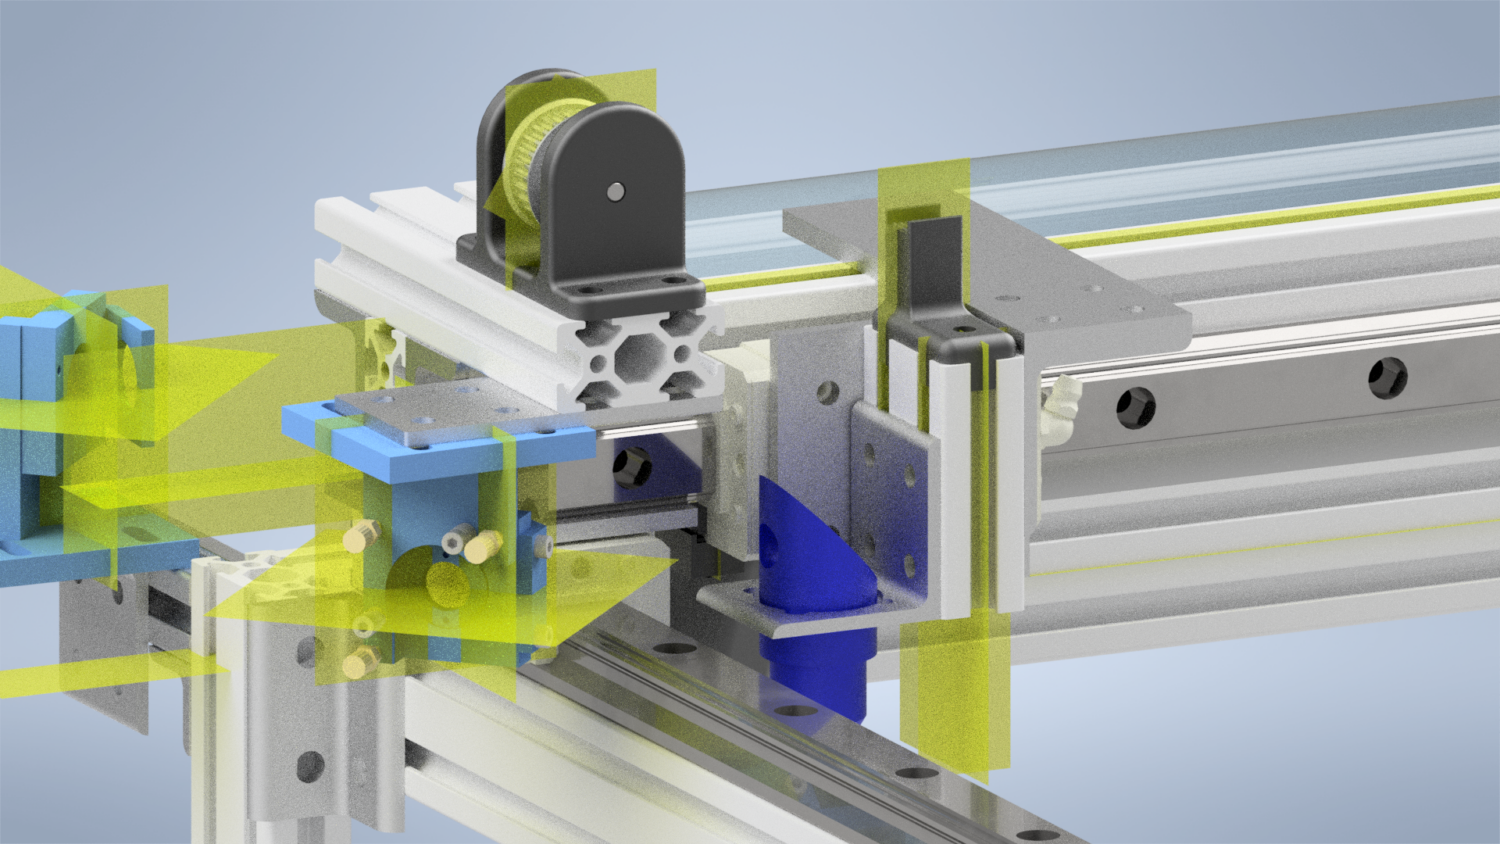
The bed is a tensioned honeycomb sheet supported by a 2020 extrusion. This weight is then distributed into 2040 similar to how floor joists work in a wood frame house. Then it gets to the hardware. Sideways forces are supported by the four linear rails in each corner. The bed has linear ball bearings, and these ensure the bed cannot wobble or put shear stress on the lead screws that support it. The bearings and shafts are the ones from the Stratasys printer.
The bed is supported by tensioned ACME lead screws. They are supported on top, and the weight of the bed rests on the captive nut. As the screws are rotated this is translated into up and down movement on the bed. GT belt and pulleys on the bottom of each of the four lead screws drive them all together to keep the bed level.
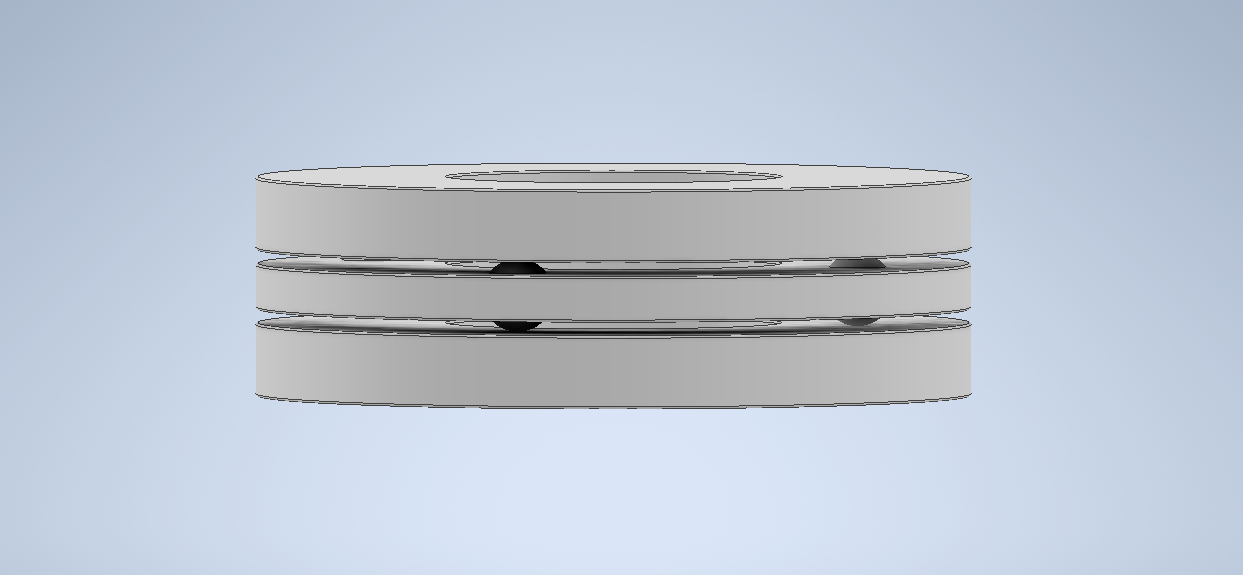
Each lead screw has a ball bearing and custom bracket at the bottom by the pulley so that belt tension does not affect the lead screw. Additionally, the weight bore by each screw is transferred to a thrust bearing designed for loads down the axis of the screw.
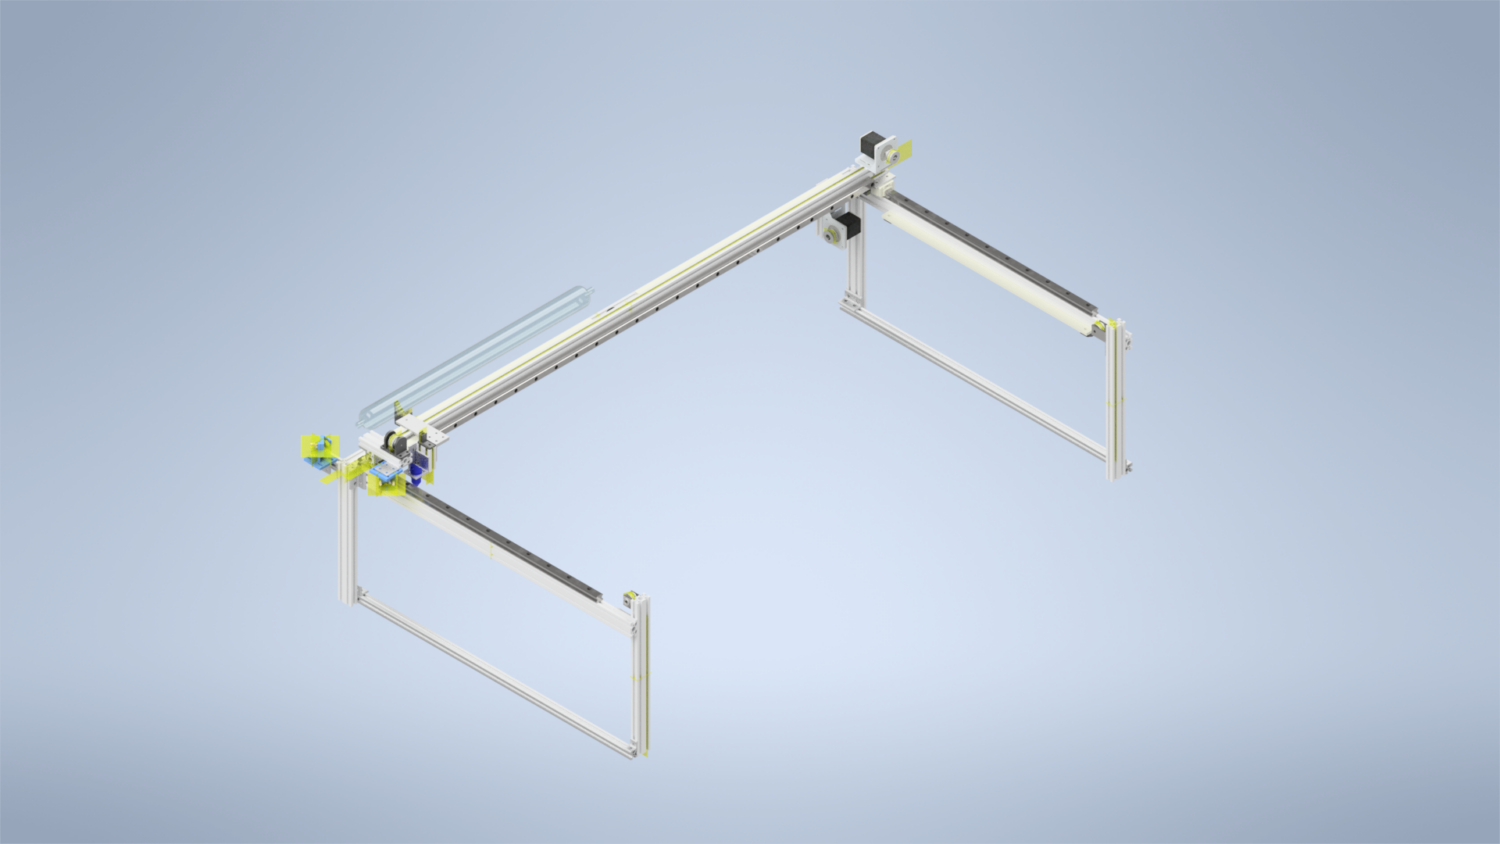
The gantry has a little bit more going on. Just so everyone is on the same page, a gantry is a system of linear axes stacked on each other. An X axis is on top of a Y axis to get 2 degrees of movement with the most simple configuration possible.
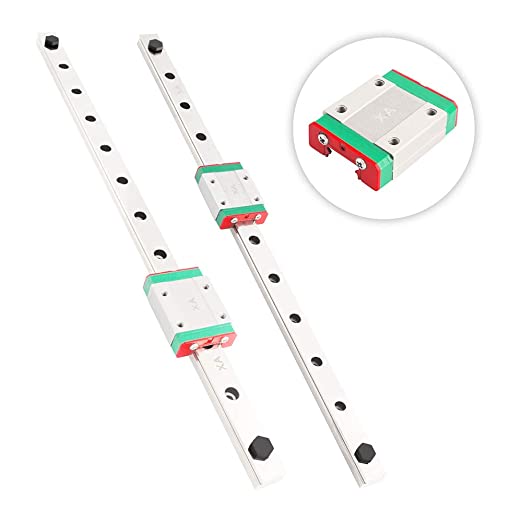
There was not a length of linear shaft in the 3D printer long enough to form any of the axes, so these use linear rails I sourced from Amazon. The main difference is the linear shaft is a round rod, whereas the rail is a steel shape a special carriage runs on. It looks remarkably similar to a monorail train.

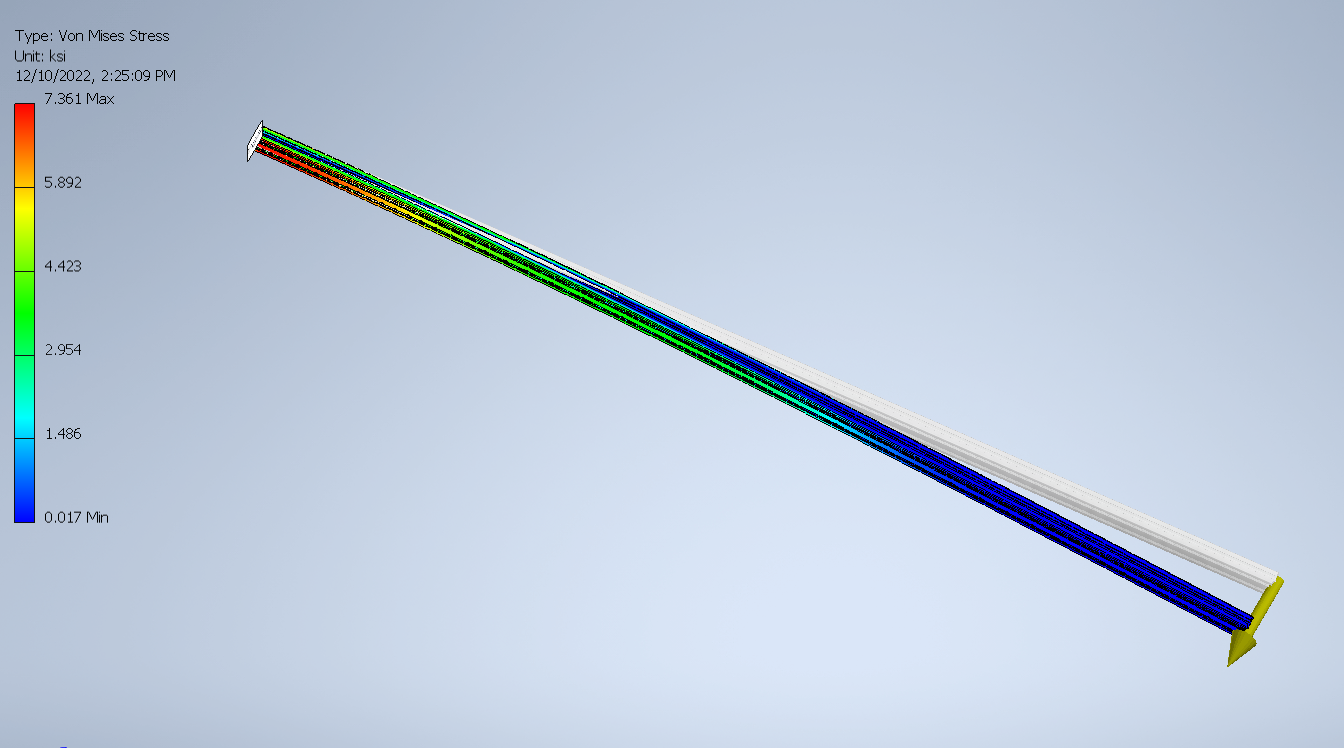
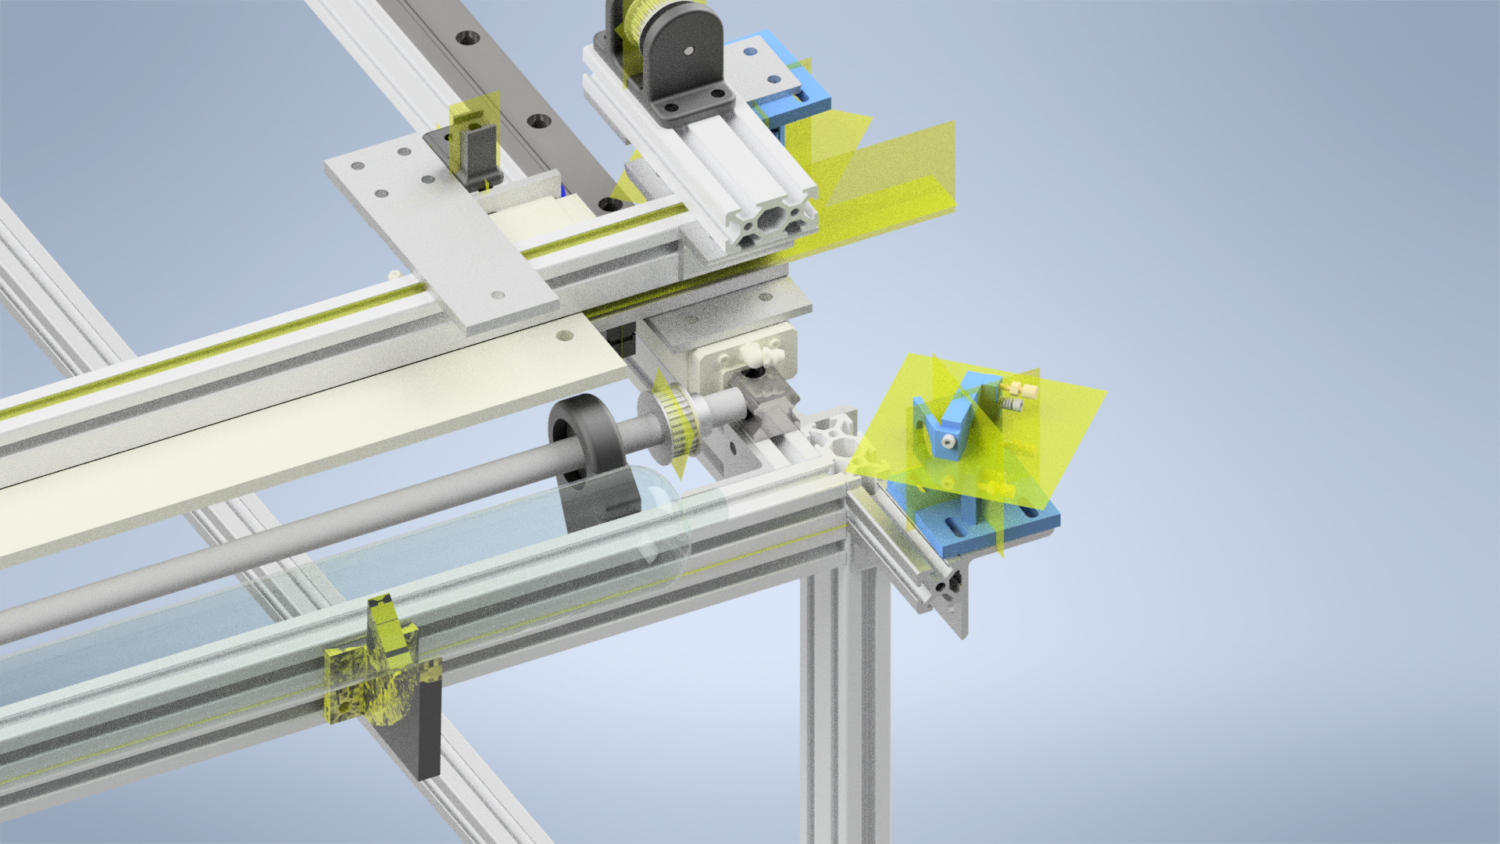
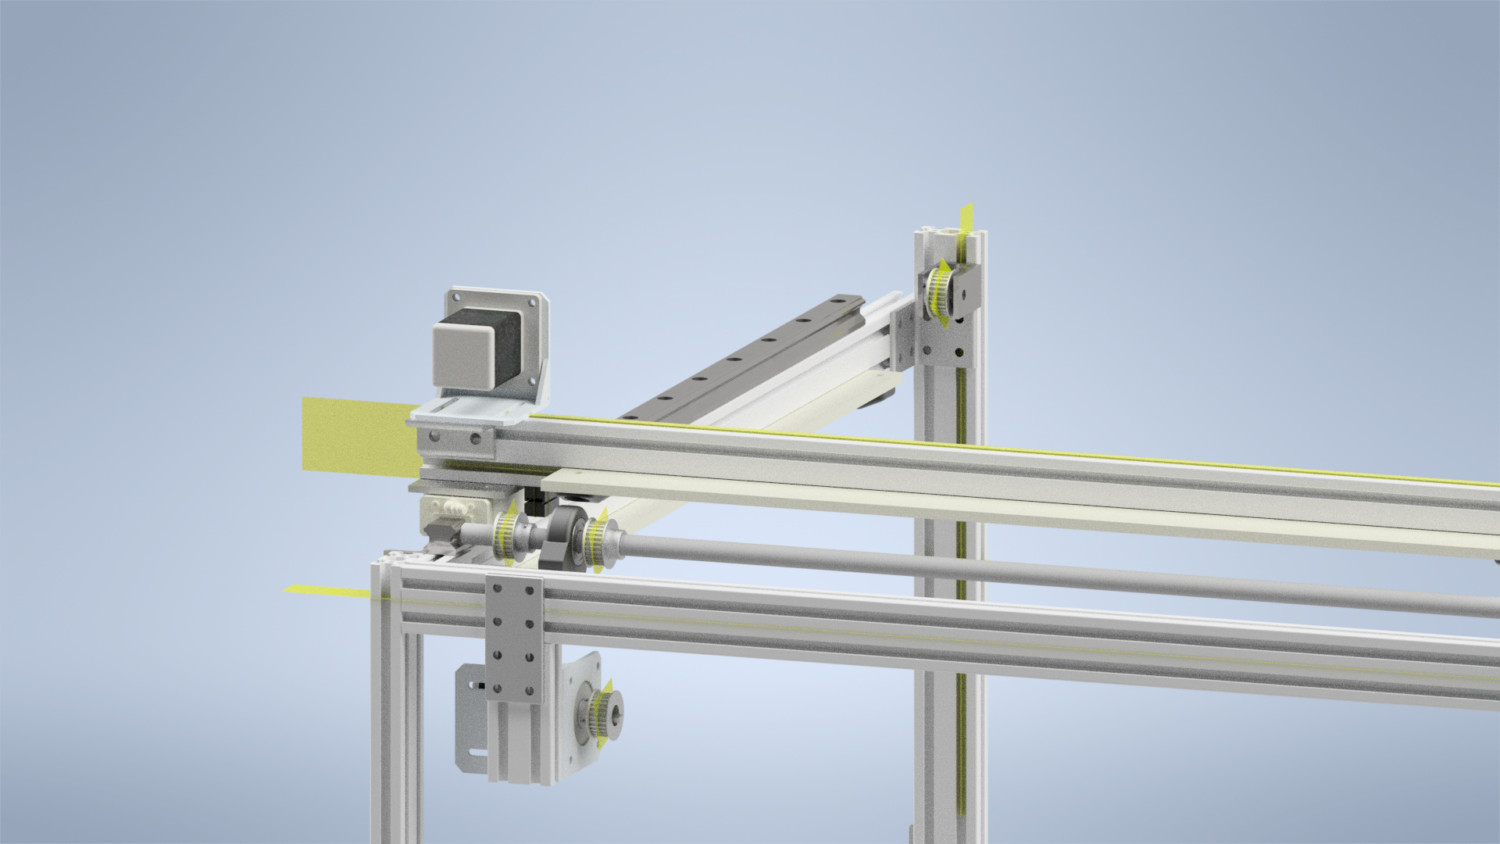
The drive belt system is something to mention as well. The X-axis sits on top of the Y-axis and spans 4 feet. If the belt only pulled on one corner, then it would end up in a cantilevered position. Even small forces from acceleration would start to bend the rail and make the laser head jump around. To avoid this the axis is driven from both sides. Each side is connected to one main 1/2-inch shaft in the back of the cutter. Then that shaft is driven by the Y-axis motor so that everything is moved evenly.
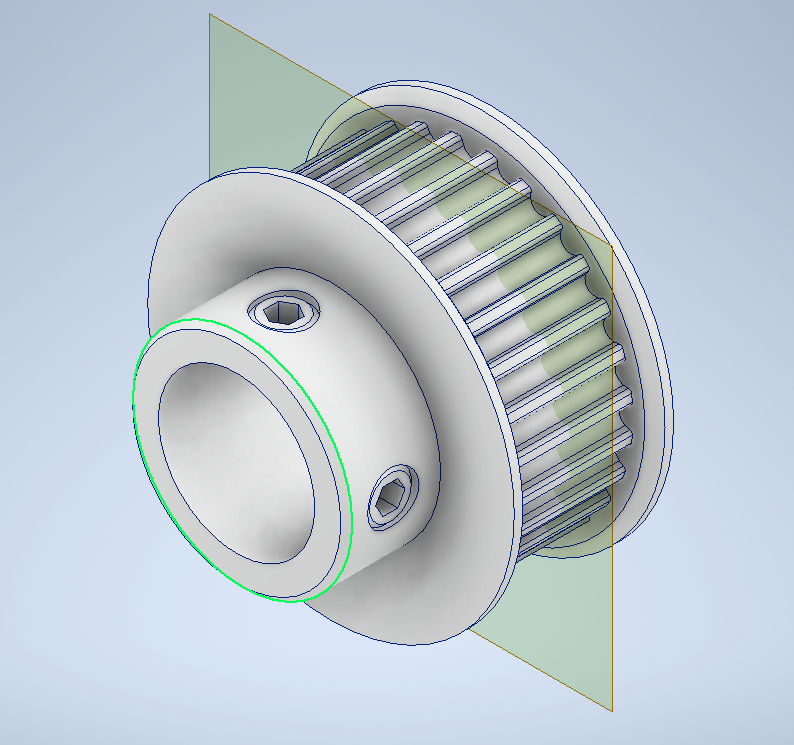
GT belts are commonly used by 3d printers as I said, and the pulleys manufactured are made for the 1/4 inch shaft of a Nema 17 stepper motor. There are no GT pulleys made for a 1/2 shaft, and this poses a problem as a smaller shaft would deflect in the laser cutter. I decided the best option, was to purchase the 1/4 inch pulleys and bore them out to 1/2 inner diameter. There should be enough material left for set screws to lock it down to the shaft.

The Future
I am going to finish the outer frame before starting to build the laser and will report when it is ready. In the meantime though, some 3D-printed parts need to be tested and optimized which I will cover soon.
Go back to the main K400 laser cutter page to see other updates, and the project as a whole!
Other Project Updates
See the rest of the project posts below:
What more do we offer?
Discover other great products and stories:
