The Arduino code discussed in this post can be found here:
You can use, modify, or distribute it freely as it is without any license.
What is it?
A monostable multi-vibrator is pretty self-explanatory, it’s right in the name…
Joking aside, it is also known as a one-shot device. It is a digital mechanism triggered by a rising edge of a digital signal that outputs a signal for a predetermined amount of time. They have useful applications in pulse extension or debouncing where you want to modify the duration of a signal of the number of rising edges over time. As an example, if a pulse lasts 50ns, but a device downstream can only respond to signals longer than 1us, then a monostable multivibrator can be used to lengthen the signal from 50ns to 1000ns or 1us.
How did we get here?
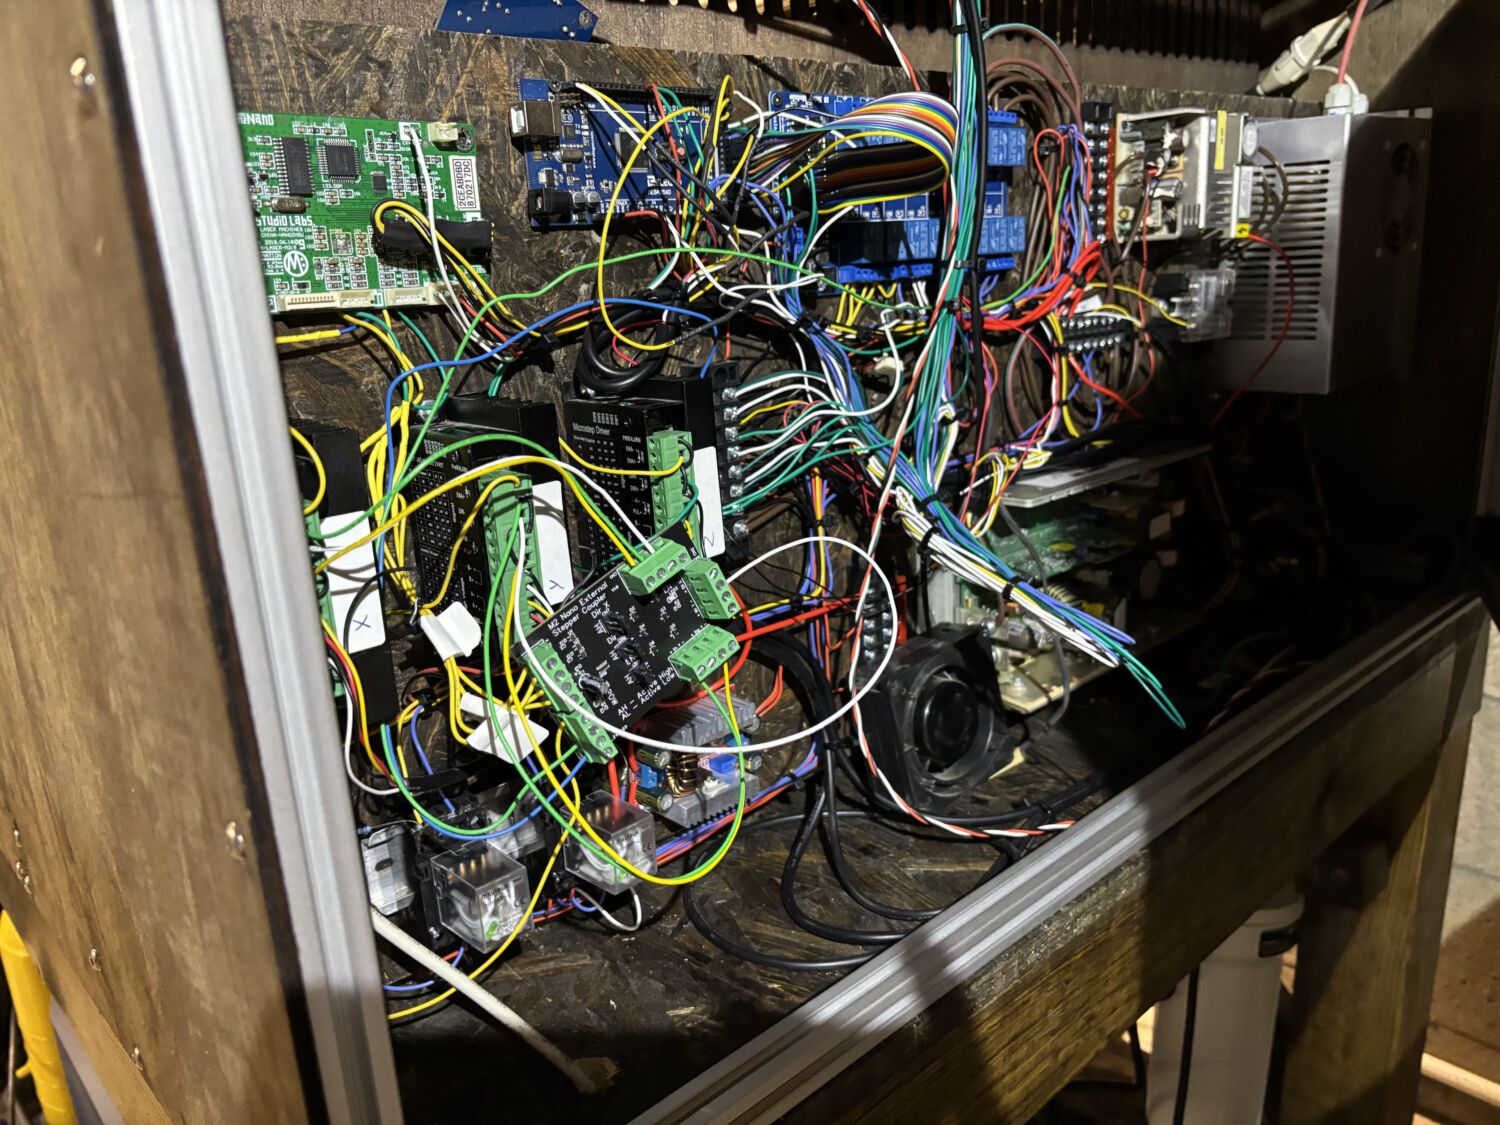
While working on the laser cutter project, I ran into a similar signaling issue between the Nano M2 and some stepper motor drivers. The Nano outputs step pulses in 1us durations, however the stepper motor drivers only respond to pulses >6us in duration. This is likely due to an intentional debouncing RC circuit within the drivers.
After some online research I found a monostable multi-vibrator, MMV, was what I needed to lengthen the pulses, but I needed to prototype first. You see, traditional MMVs are hardware circuits where a combination of additional complimentary components on a circuit board determines the pulse width. It was prohibitively expensive to develop multiple circuits with a bunch of specific components just to test the theory.
One cheap device I did have on hand was a bog-standard Arduino Uno. It has an Atmega328 powering it. The CPU itself is much too slow to keep track of times though. At 16MHz, the CPU can only execute 16 instructions per microsecond. It would take way too many instructions for the CPU to count time, so that was out of the question. However, the Atmega328 does have three hardware timers.
How the MMV works.
The hardware timers are like counters. Each clock cycle the timer increments up 1. They also can trigger interrupts in the CPU. When a timer reaches a preset value or it overflows it can trigger an interrupt. Overflowing is when the timer reaches it max values and increments back to 0. We could use either the preset value or overflow interchangeably, but this design uses overflows.
We can set the timer to a specific value so that in X microseconds it overflows. For the example above we can set the timer to 159 so that it overflows after 6us. We can back-calculate this time by taking the max timer value, 255, and subtracting 16 clocks per microsection we want of delay:
Preset = 255 – 16 * delay
Now we know that when the timer is set to 159 it will overflow in 6 microseconds and trigger an overflow interrupt. We can use this interrupt to accurately turn off an output that has been on for the exact duration we need. Now, how do we turn it on?
The Atmega also has hardware interrupts, just like the overflow interrupt when a pin changes state, we can trigger another interrupt within the CPU. We can use this interrupt to turn on an output pin and set the timer to our calculated preset. Then, after the timer overflows, its interrupt turns the output back off giving us the pulse of the correct duration we want.
Leveraging interrupts is what lets us get such fine accuracy when the system clock is so slow. The CPU is doing almost nothing and can respond immediately without needing to perform calculations or measure, ever.
Something to keep note of is that the Arduino is limited in hardware interrupt ports. If it had more, we could utilize all three hardware timers and make a triple MMV. Additionally, one of the timers is a 16-bit timer rather than an 8 so its preset calculation must be:
Preset = 2^16 – 16 * delay
I left the first of the three timers unmodified so the millis counter of the Arduino still works.
Results
The dual-adjustable MMV on an Arduino works quite well. In my case, it was able to extend 1us pulses to 6us repeatably and at multiple KHz. As for the implementation in the laser cutter, it did work, but the pulse widths turned out to be just one of the many flaws with the Nano M2 and the MMV never made it into the permanent setup.
