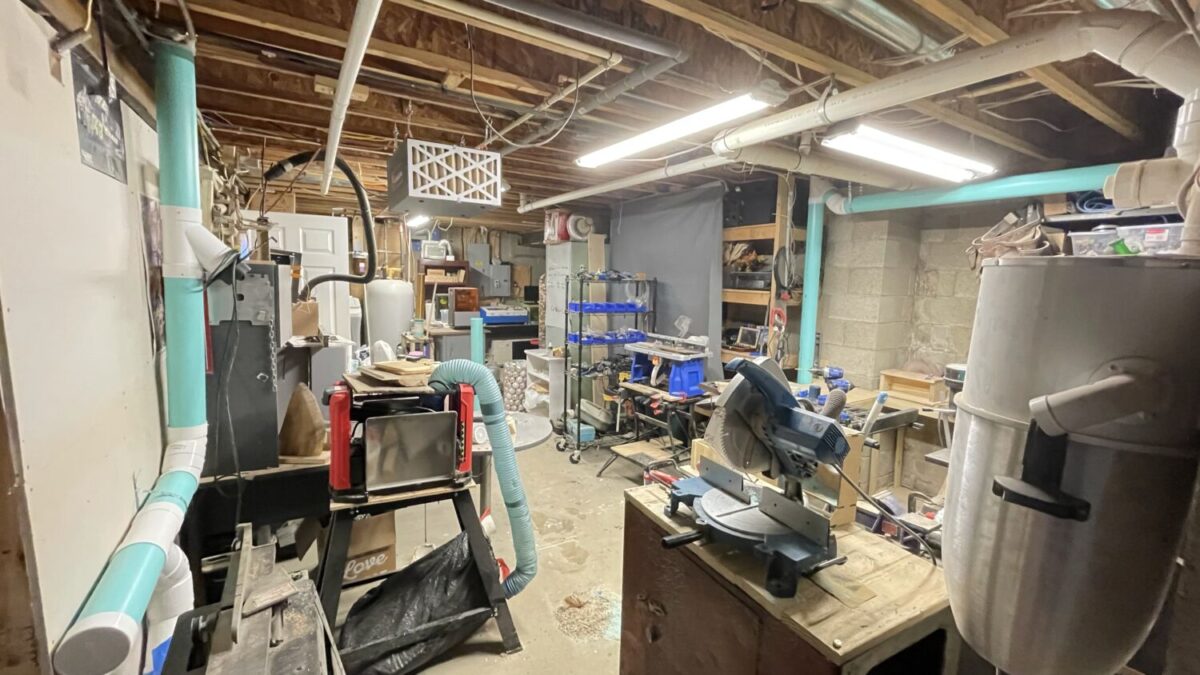
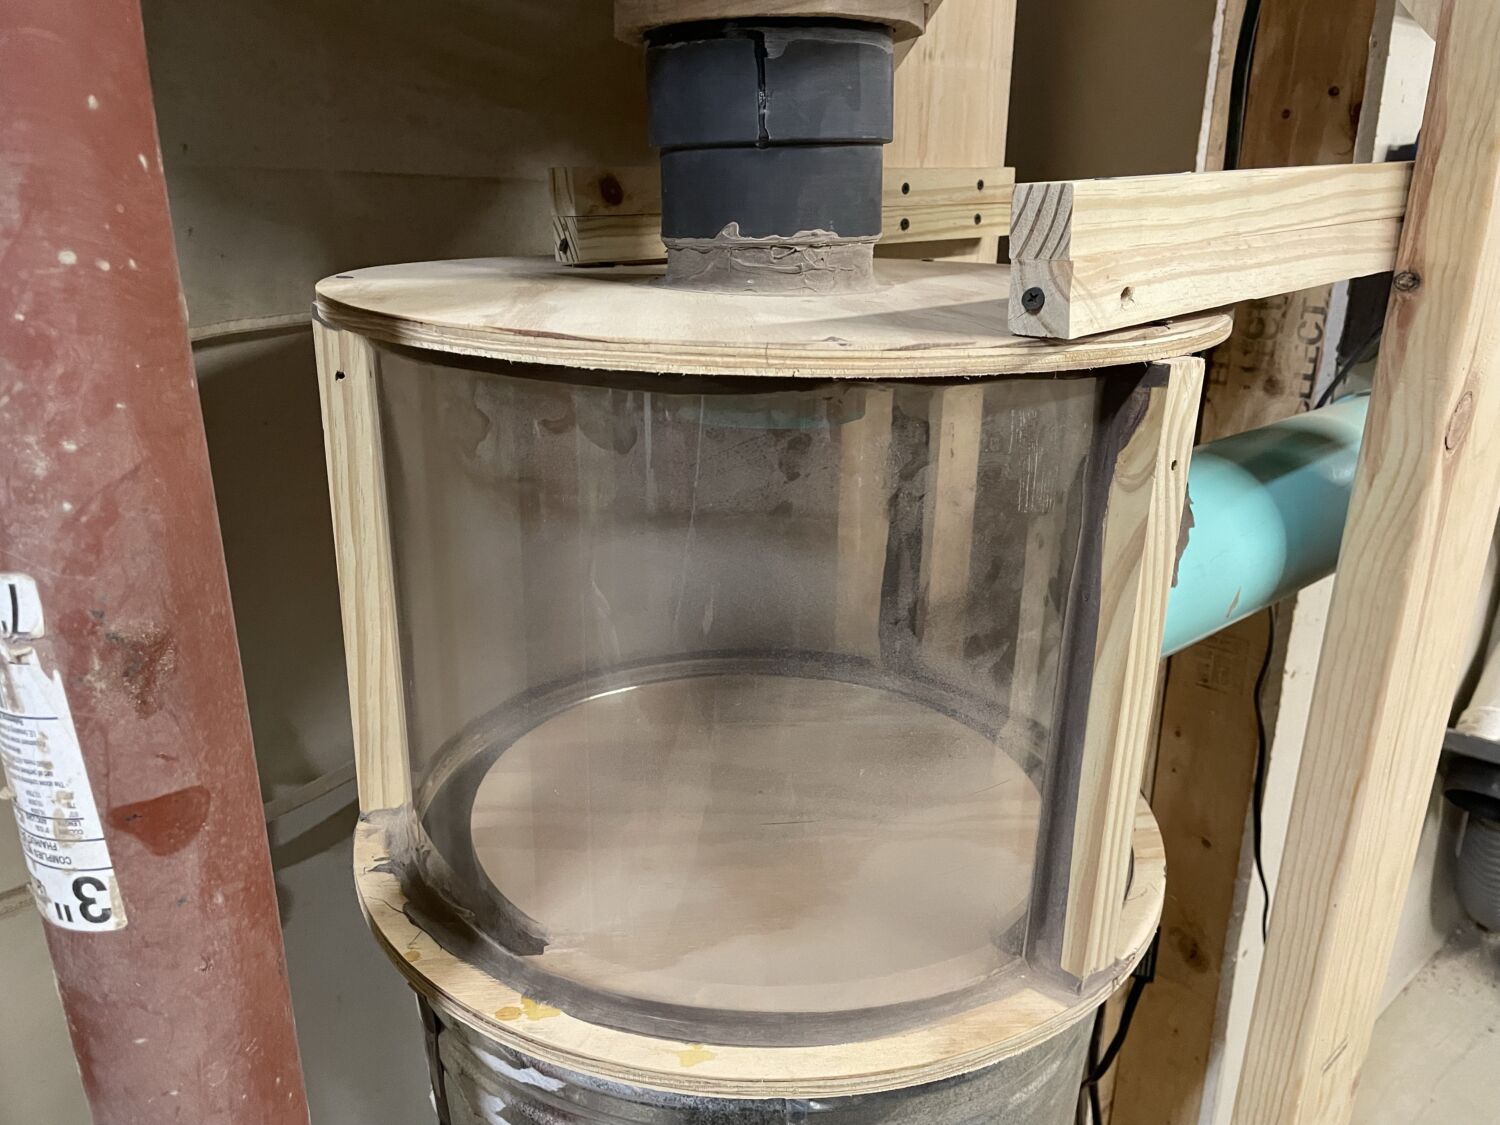
A working wood shop needs a way to manage and control dust so the air stays breathable. There are two main strategies to this: wear a mask or pick up airborne dust at the tool. Obviously wearing a mask is easy and cheap, but it can be uncomfortable as 2020 can attest. It also leaves the issue of dust piling up on and under every tool. The other solution is a dust collection system that picks up the dust. Here’s the overview of how and why I built the dust collector used in the woodshop.
There are templates available here.
The Collection System
Design Theories
There are two more ideas as to how a dust collection works. Either all piping is the same diameter, and one tool is connected at a time, or the pipe is increasing in diameter as more tools connect to it, and all tools are connected to the collector at once.
The second option is most common for large workshops with multiple wood workers, and it can be expensive with large pipes and a huge dust collector adding massive costs.
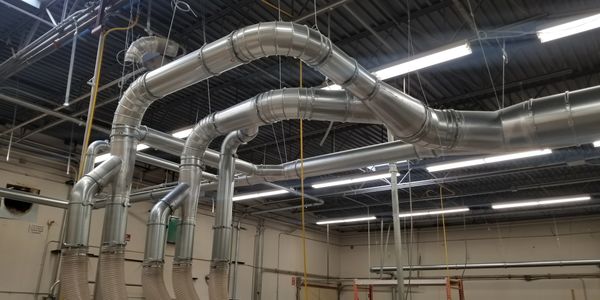
However, fitting an entire shop with a 4″ pipe, and adding blast gates (air valves) that block off not-in-use tools means the cost can be saved with a consumer-style dust collector and all the same size pipe. It does limit the shop to collecting dust from one tool at a time but is perfectly fine for a single worker.
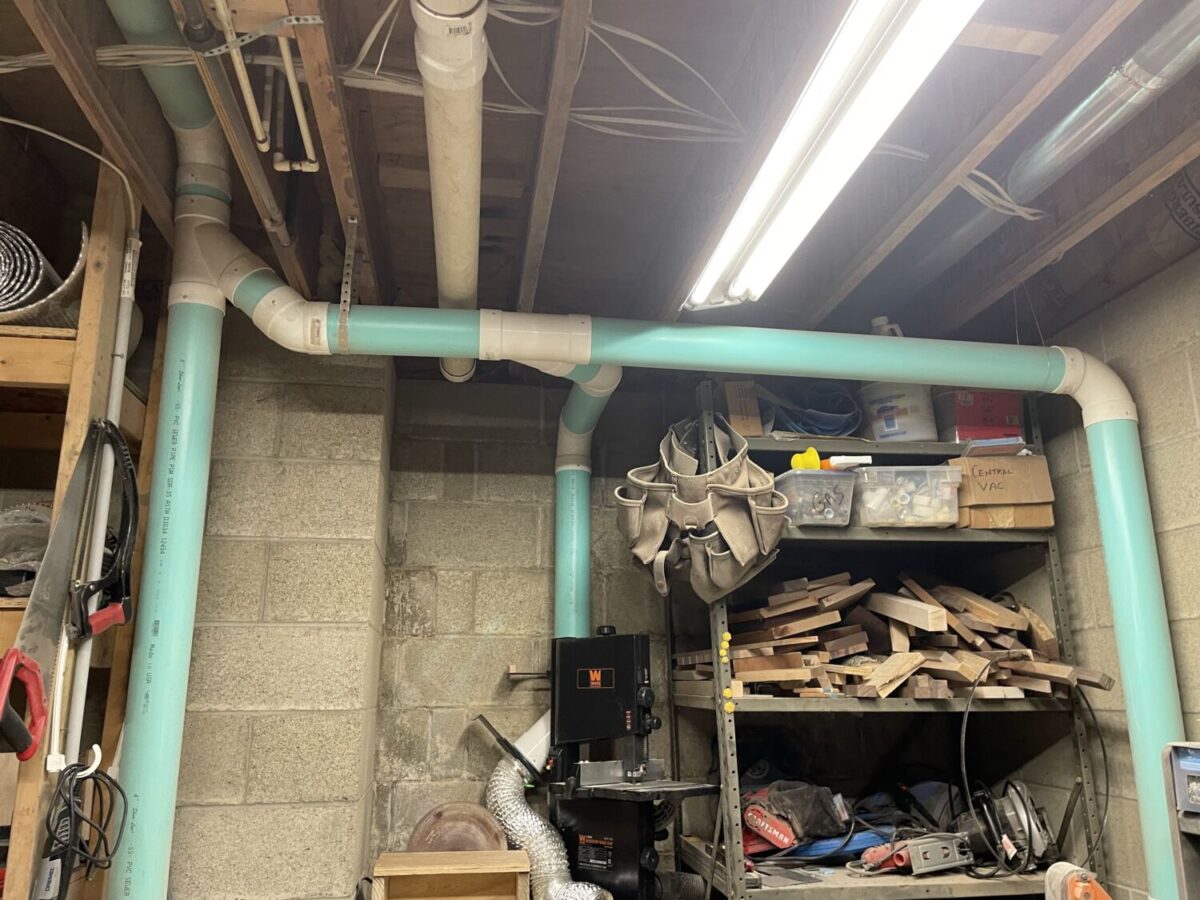
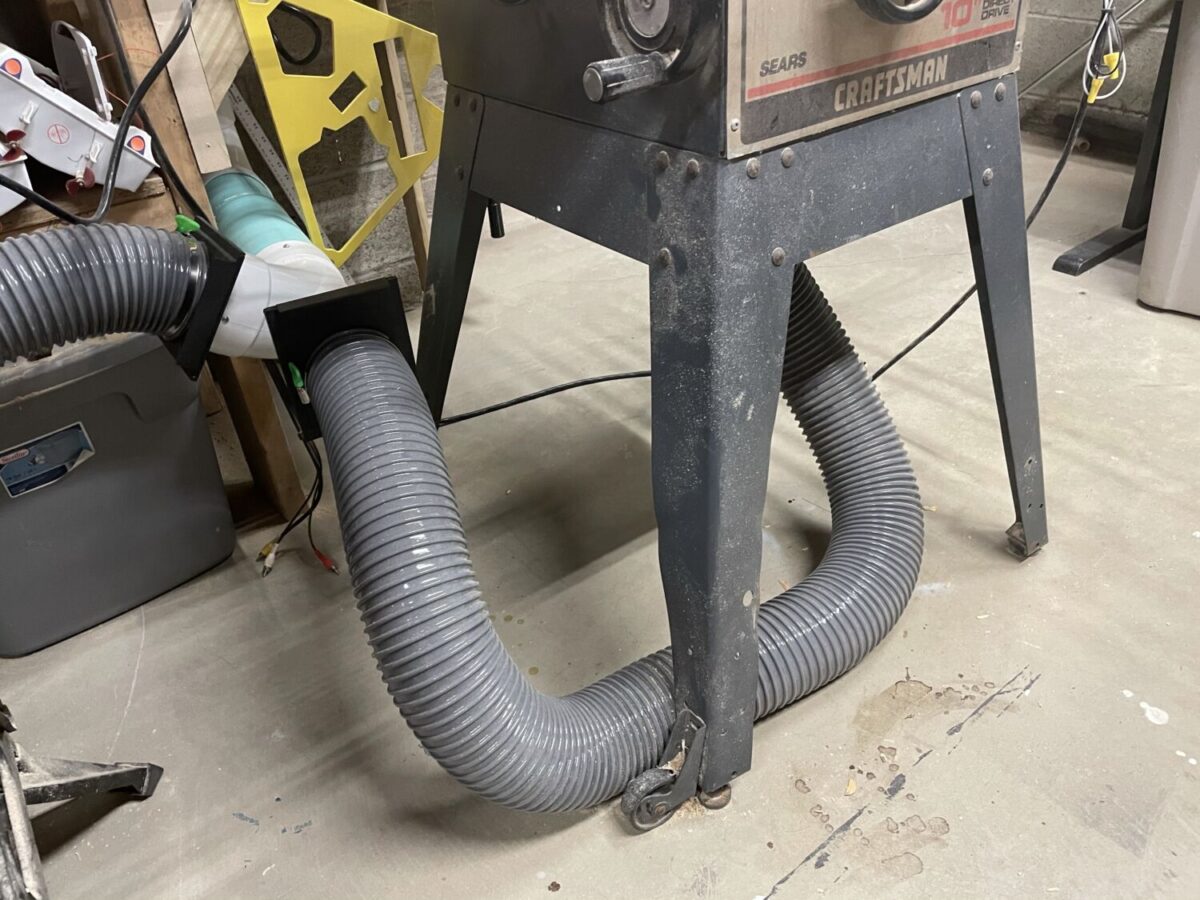
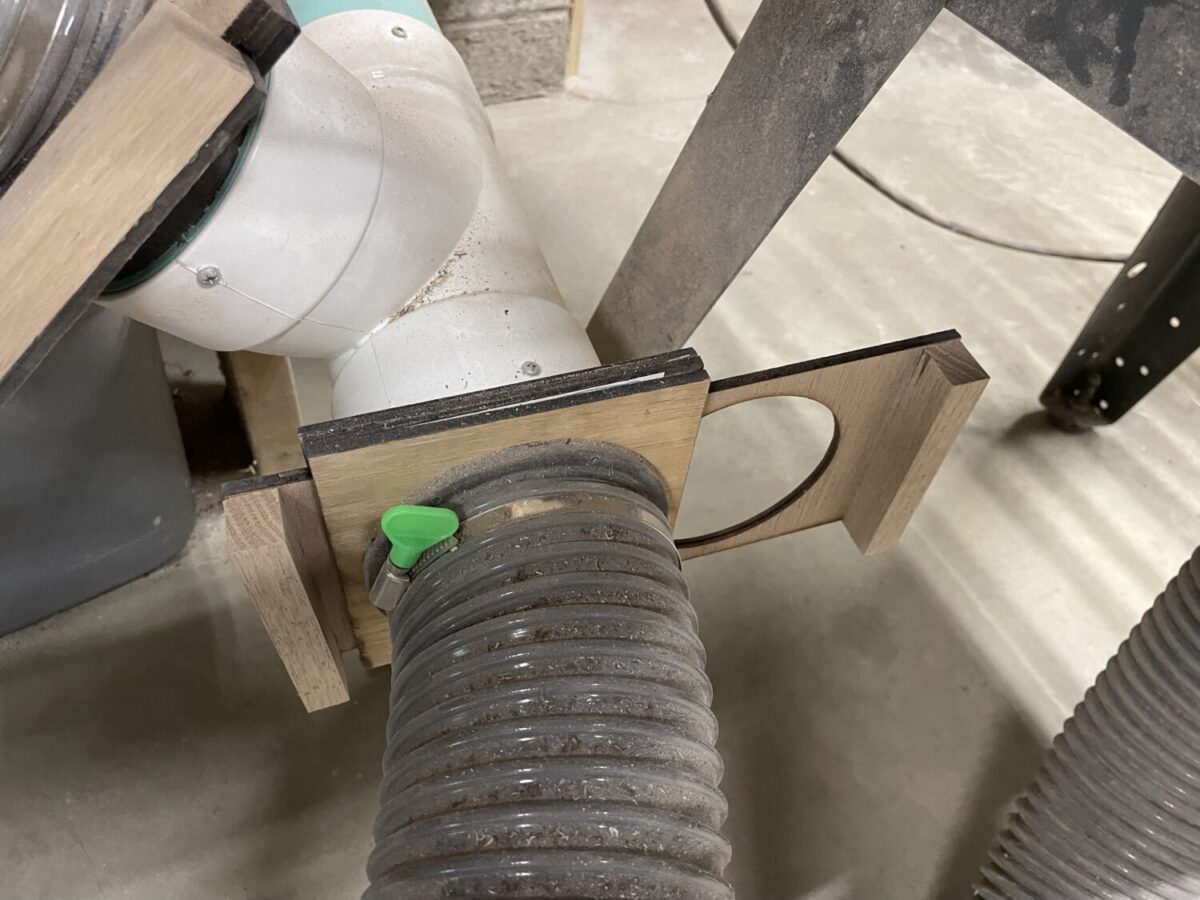
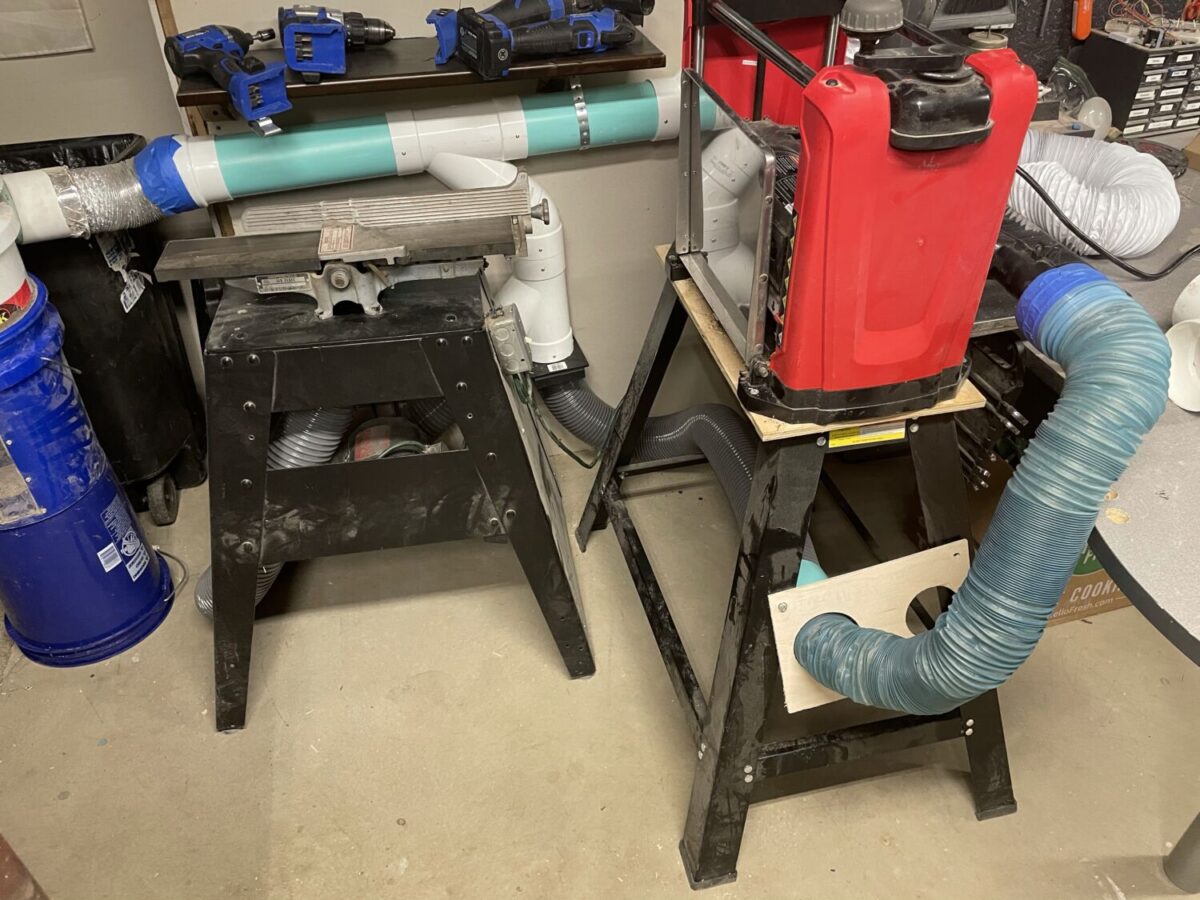
The pattern for setting up a blast gate system is a small bit of flexible tubing connecting tools to a blast gate (Under 2′-4′) Then rigid tubing from the blast gate all the way to the dust collector. It minimizes restriction but allows tools to be moved as needed. Flexible pipes can be purchased online or in some stores, and the blast gates can be purchased or made like these ones. The next step is choosing the piping from the blast gate to the dust collector.
Choosing piping
There are a couple of systems used by woodworkers, and they vary wildly by price: flexible 2″ hose, rigid 4″-6″ inch PVC pipe, or 6+” metal ducting.
The two-inch hose is very convenient as it can bend around obstacles and doesn’t require fittings. However, the corrugated pipe is restrictive, so it requires a high-pressure and loud shop vac to pull air through. In addition, most woodworking tools require more airflow than a shop vac can provide, so some dust may be missed. The 2″ tube is very affordable though.

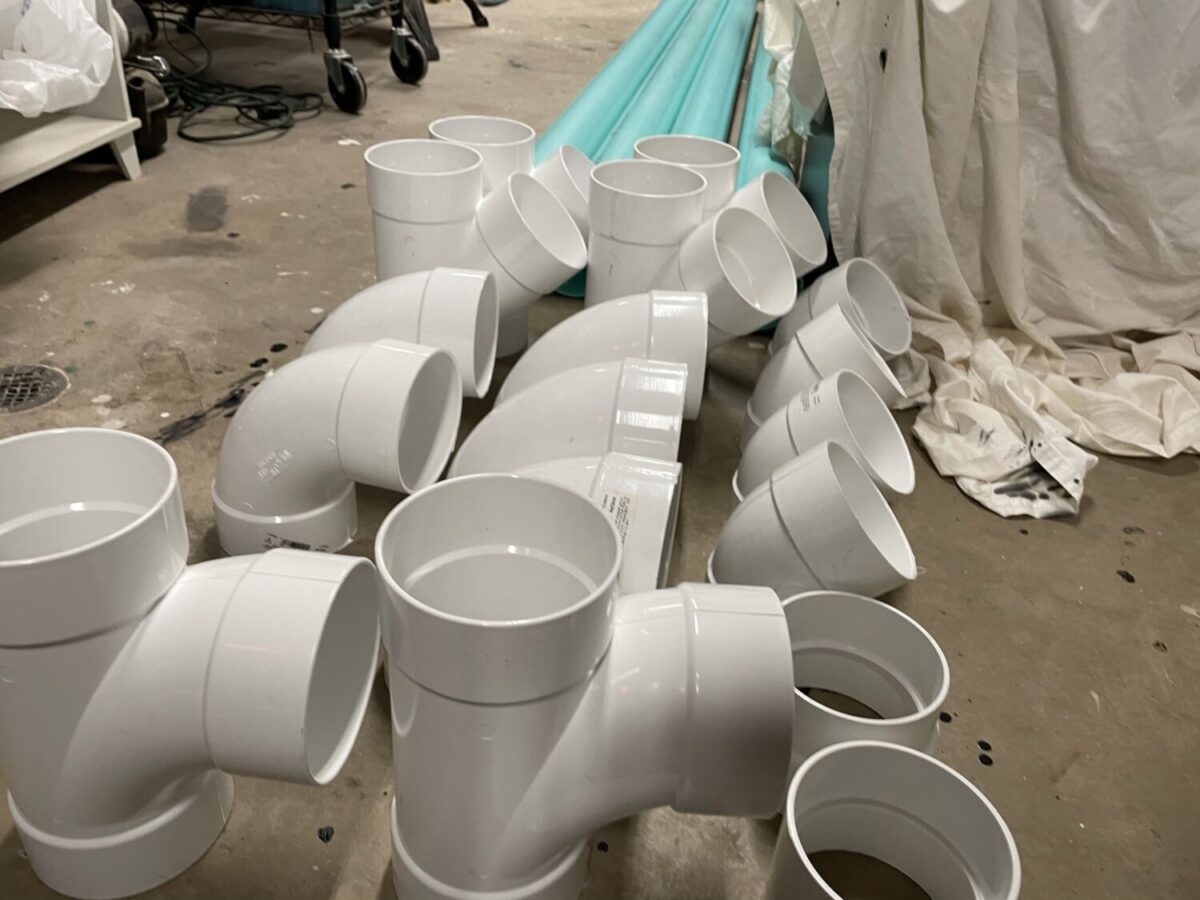
The 4″-6″ PVC is the next tier up, it costs more than the tubing, and the rigid pipe requires elbows and tees and such, but it allows much more airflow and is not restrictive. This pipe can be sourced at nearly all home improvement stores in 10-foot sections along with fittings. Sewer and drain pipe is cheaper than the standard schedule 40 pipe that is used in house plumbing because of the thinner walls, but it’s plenty strong for dust collection purposes. However, the larger pipe means that it has a higher self-cleaning airflow requirement (Self-cleaning means dust is not building up within the pipe). A large consumer or professional dust collector is required to pull enough air through the pipe. As one final thought, the plastic pipes can build up static which can theoretically combust dust inside the pipe. This is recorded to be nearly impossible to actualize, but adding a grounding wire that extends into the piping system at various points should remove any static build up.
Professional metal ducting comes in sizes varying from 4″ up to multiple feet in diameter. It’s expensive, but easy to setup, modify, and has all the advantages of PVC pipe, plus the conductive pipe doesn’t build up static. However it’s out of the price range of most hobbyists.

Dust Collector
Dust is picked up at the tool, pulled through piping, and needs to be separated from the air. In addition to moving the air, the dust collector separates out the dust. The range of dust collectors in price and performance is again very varied like tubing. It can range from a $20 shop-vac to a 5 figure industrial separator. Each dust collector has a different size inlet to match it’s airflow. A shop-vac with a two inch inlet works best with 2″ pipe, and so on. It ensures the pipe maintains a self-cleaning airflow, but that the dust collector isn’t starved for air and can work effectively.
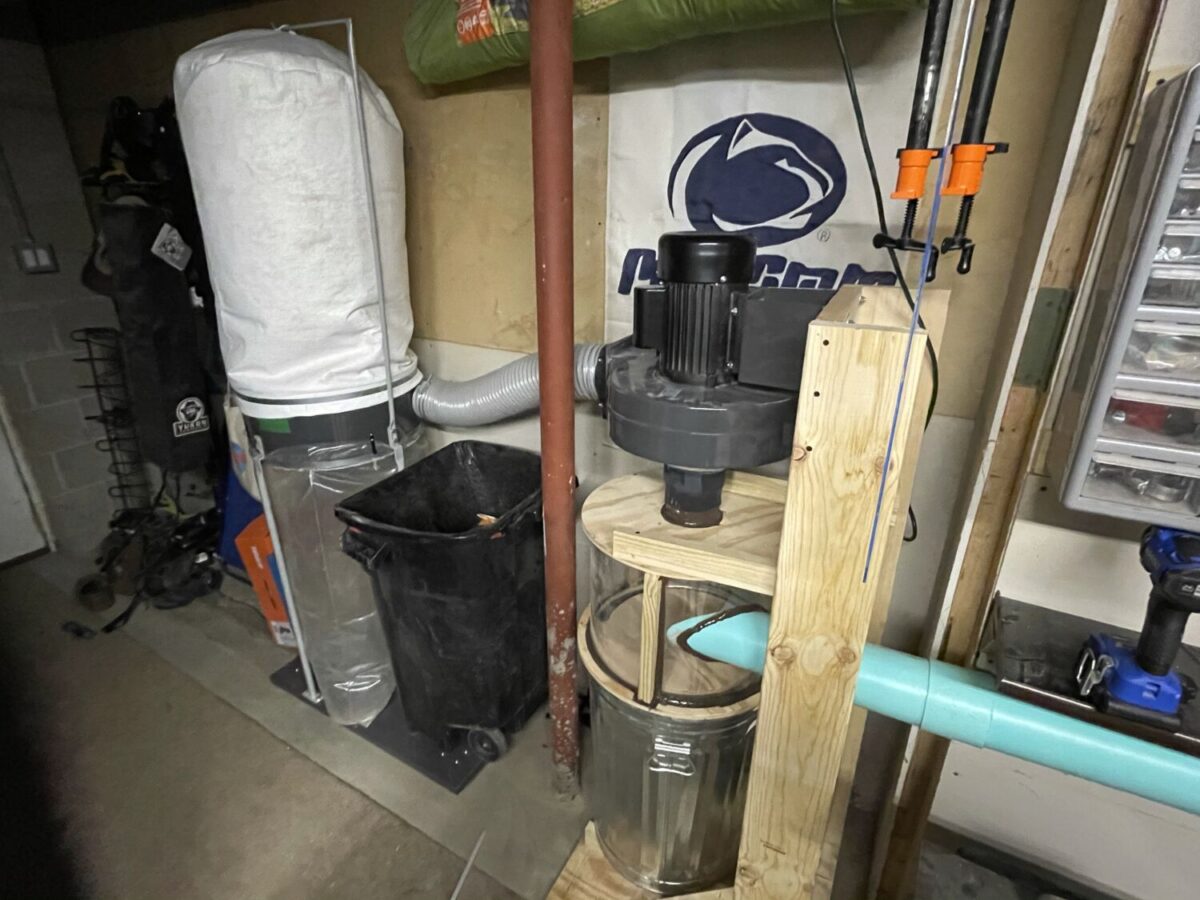
Keeping with the budget but powerful theme of 4″ PVC piping, the 2 HP Dust collector offered by Harbor Freight is an amazing deal for the price. It’s a hidden gem within the cheap ineffective tools that surround it on the shelf. It has a sealed 120 volt, 2 horse power motor and blower that can pull around 700-1000 cubic feet per minute of air. It does have a lacking filter bag system, but that can be upgraded by anyone with wood working tools to a two stage cyclonic dust separator.
Cyclonic Dust Separation
Cyclonic dust separation, also known as cyclone dust collection, is a method used to separate dust particles from a gas or air stream. It relies on the principles of centrifugal force and inertia to achieve the separation.
Here’s a simplified explanation of how cyclonic dust separation works:
- Inlet: The gas or air stream containing dust particles enters the cyclone through an inlet, typically tangentially. This creates a swirling motion within the cyclone.
- Inertia: Dust particles, being heavier than the gas or air, have higher inertia. Due to this inertia, they tend to continue moving in a straight line even as the gas stream curves and swirls. This causes the dust particles to move toward the outer walls of the cyclone.
- Settling: Once the dust particles reach the outer walls of the cyclone, gravity takes over, causing them to gradually settle downward. The collected dust accumulates at the bottom of the cyclone, where it can be collected and removed.
- Clean air outlet: The now relatively clean gas or air, with a reduced concentration of dust particles, continues its upward spiral toward the center of the cyclone. It exits through a separate outlet located at the top of the cyclone.
By utilizing the combination of centrifugal force and inertia, cyclonic dust separators can effectively separate and remove large and heavy dust particles from the gas or air stream. However, it’s important to note that cyclones are generally more effective at capturing larger particles and may be less efficient in removing smaller particles, which means a fine filter is still necessary.
DIY Thein Baffle Guide
The easiest form of cyclonic separator to make is the thein baffle. A cylindrical area sits on top of the collection bin, and a baffle separates the two. This baffle is a disk, which can be cut from plywood, with a ring cut out tangent to the walls of the separator, and that extends two thirds of the way around the disk like shown.
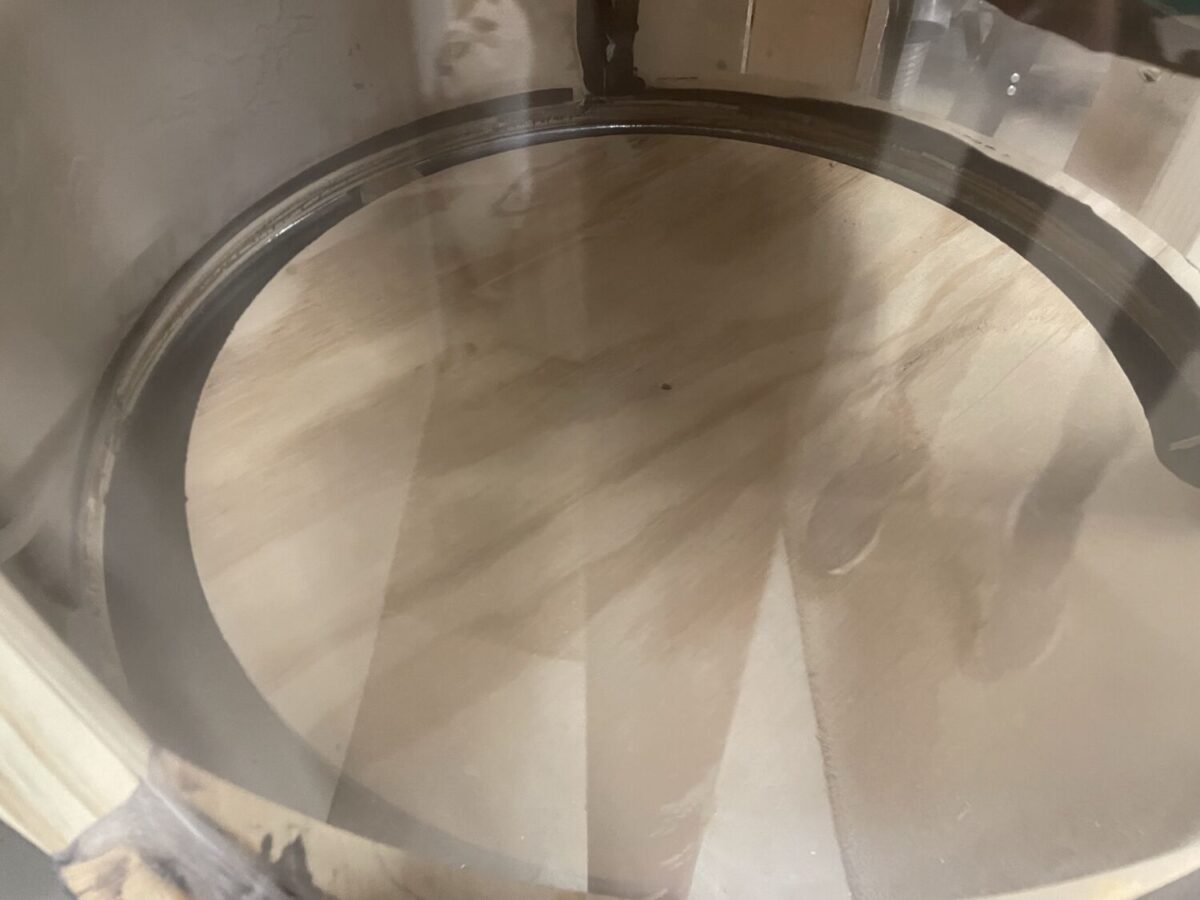
This creates a slot for dust to fall through, but keeps the inner baffle in place. The baffle reduces air speed in the dust collection bin and allows dust to settle out.
The inlet is tangent to the cylindrical area, and the outlet is out the top of the area just like any other cyclonic dust separator.
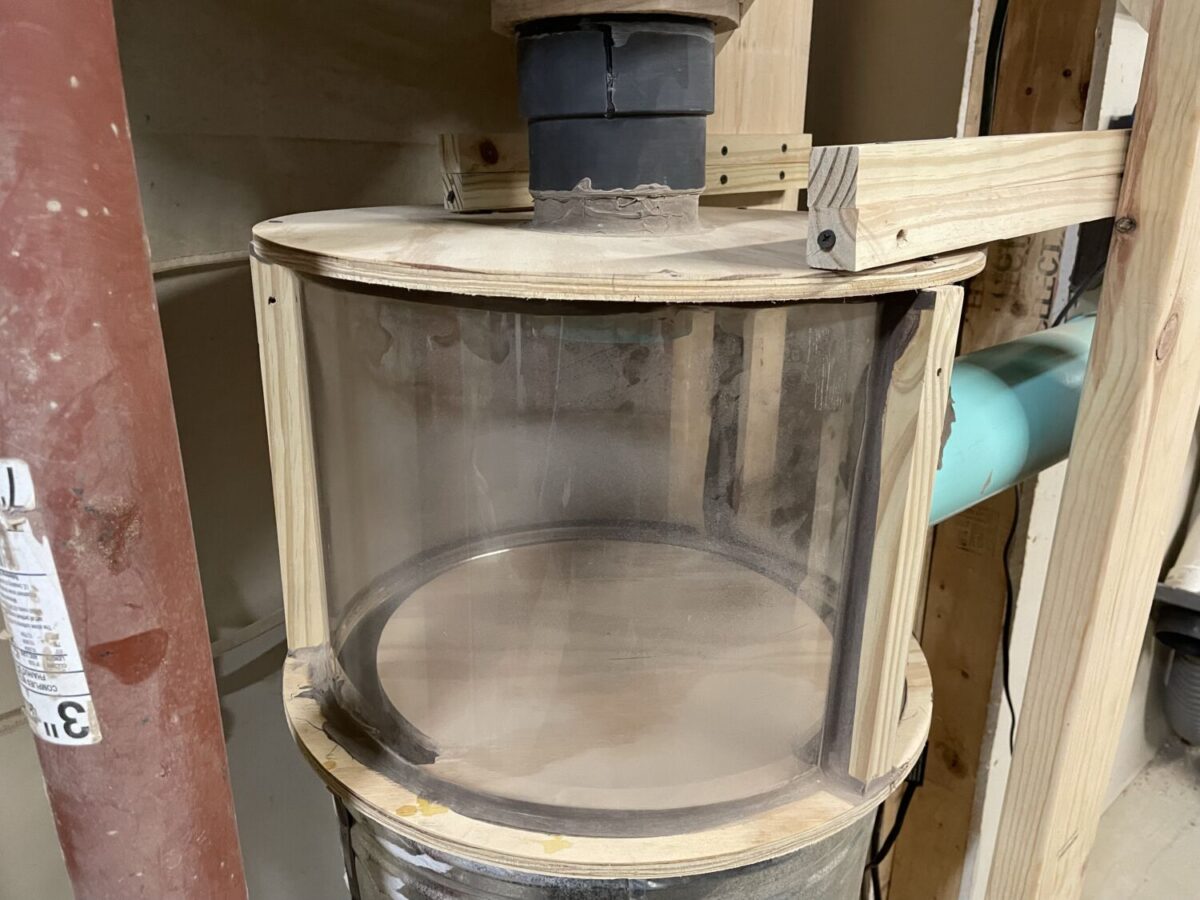
With combination of 4″ PVC and the harbor freight dust collector works together with an 18 gallon trash can to make a thein baffle with these dimensions:
- Diameter of 17.5 inches
- Cylindrical area height of: 10 inches
- Plywood Required: 2’x4′
- Polycarbonate Required: 60″x10″
The cylindrical area can be made from 0.5″ plywood and cut with a router circle jig to cut slots and the disks. The walls of the cylinder are best made from 1/8″ polycarbonate. Polycarbonate can be bent around the diameter of the disks, and is non-shattering if large chunks or sharp objects enter the separator.
Templates available here:
I used an 1/8″ barb bit in a Dremel on the circle jig to make a ring that the polycarbonate fits into. It can be sealed in place with silicone.
Dust Collector Results
I made the thein baffle separator, and added a couple features to fit my workshop.
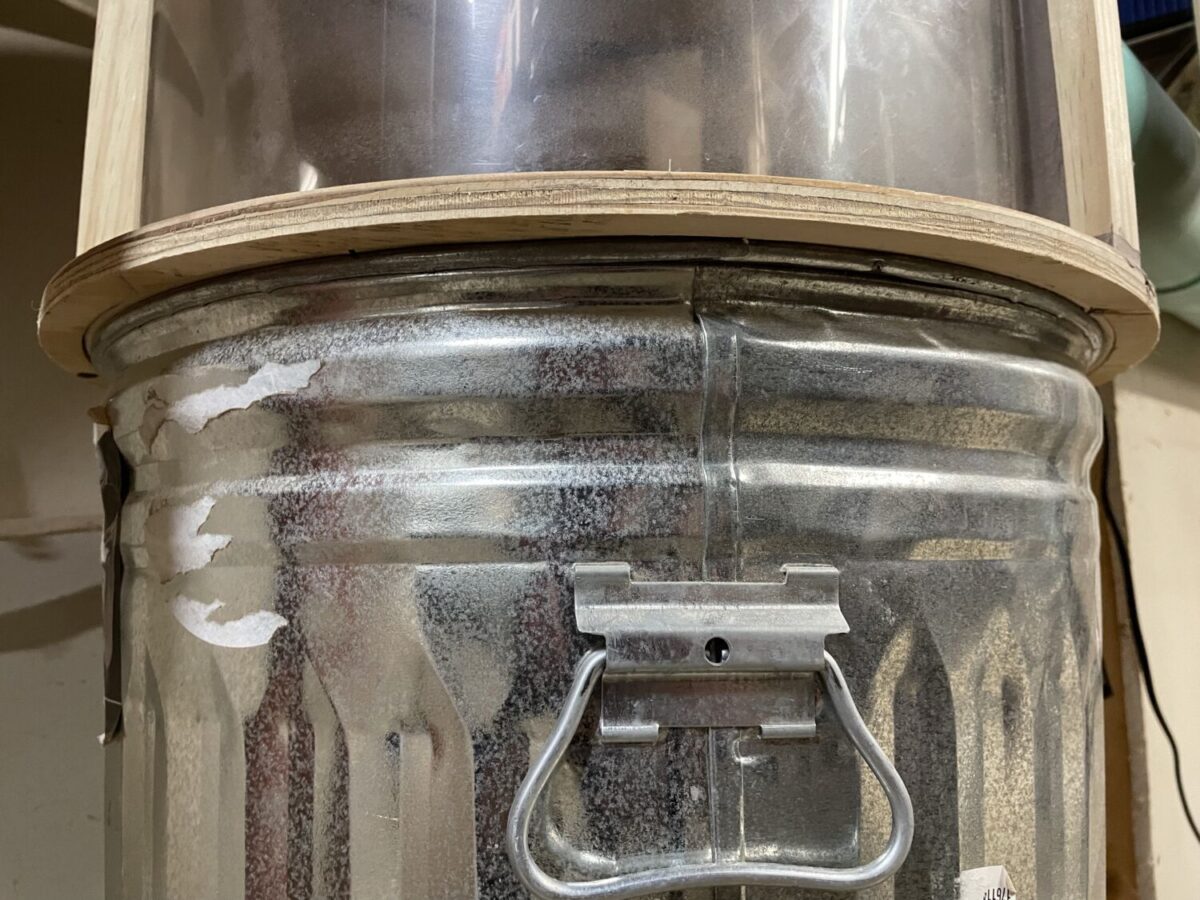
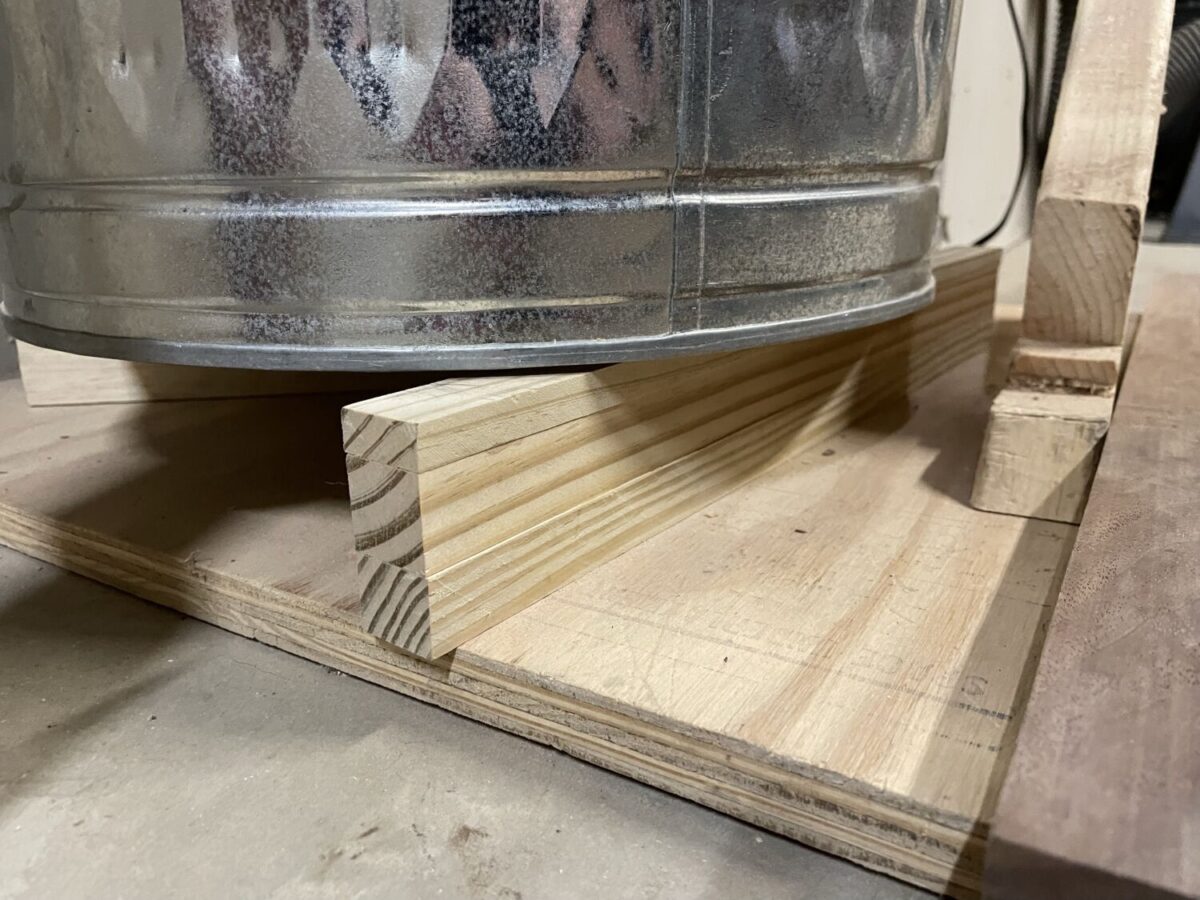
- The trash can collection bin is not attached to the cylindrical separation area. A weather stripping seal keep air from between the two, and the bin sits on a few blocks of wood. They can be removed, and the bin drops out for easy emptying.
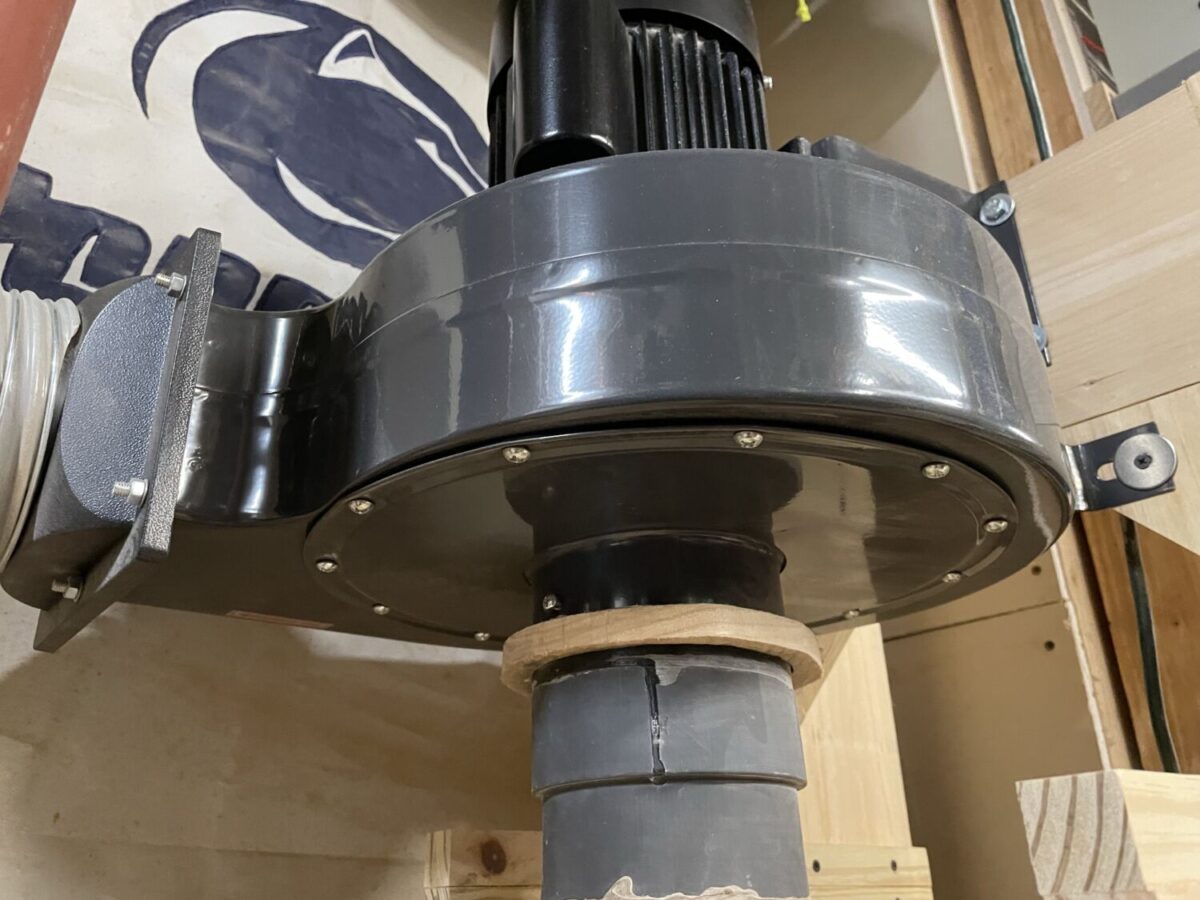
- The dust collector blower is atop the separation chamber to save space in my small basement shop.
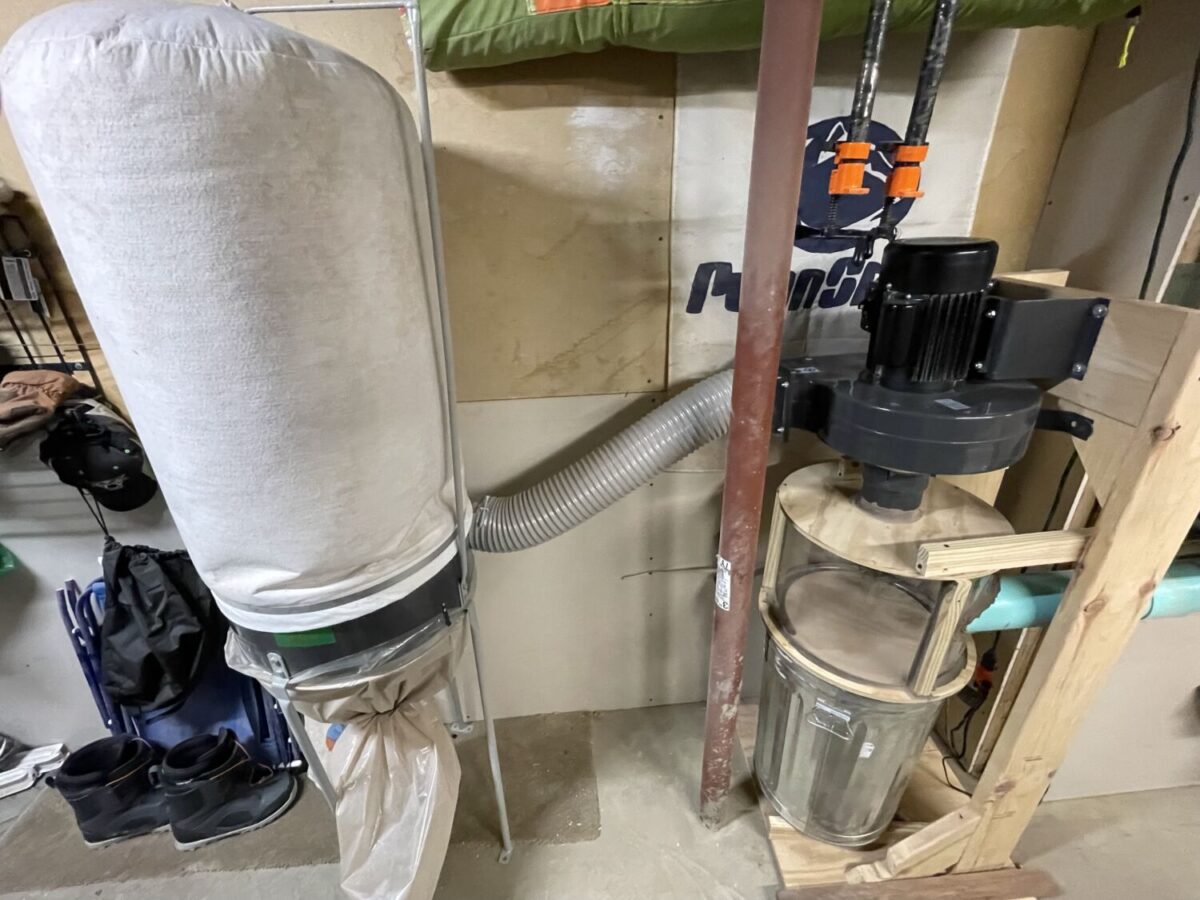
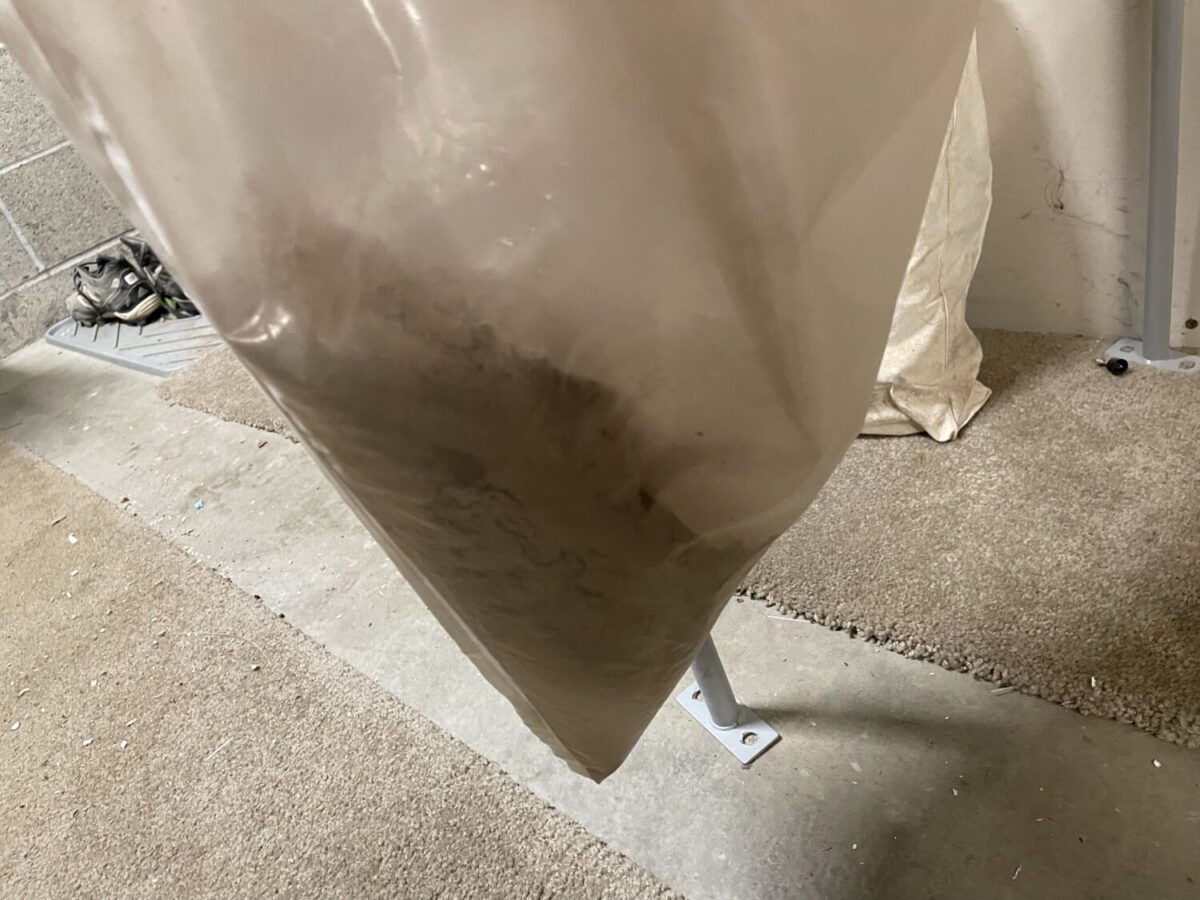
Overall the separator works really well. Countless 18 gallon container-fills of planer chips, table saw dust, and sander powder have been collected in it with only about a quart of very fine dust making it to the filter bag over the course of three years. The system is reliable, maintenance free, and easy to empty.


