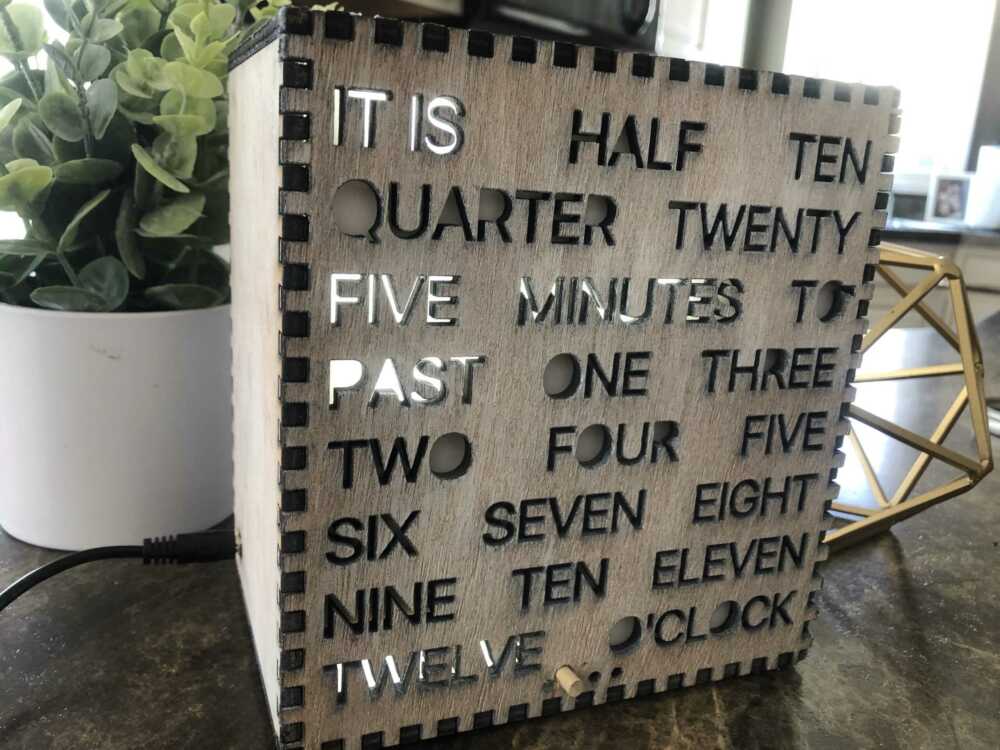
This page comes with your word clock, but the instructions are here for your use. This manual is only applicable to the Leboeuf Lasing word clock.
What’s Inside the Box
In this box you will find:
1x Word Clock
1x Power Supply
2x Knob (Extra Included)
1x SD card Adapter
Operating Instructions
The clock comes with the time preset, and an alarm ringtone included. The clock will display the time in five-minute increments. It can dim at night if desired and has an alarm feature that can be completely customized. The clock has a knob on the back to adjust settings and a button on top to stop the alarm.
Enter Settings Mode: Press and hold the knob button in for 5 seconds until “one” is lit up.
Set Time: Turn the knob button to light up “one.” Push/click the button to select it. The clock will display midnight. Turn the knob to the desired time. Dim lights mean A.M., and bright lights mean P.M. Once desired time is reached, push/click knob to save. The clock will then return to normal operation.
Set Alarm Time: Turn the knob to “two” and push/click. Follow the same instructions as Set Time.
Turn Enable/Disable Alarm: Turn the knob to “three” and push/click. Turning the knob back and forth will give two options. Selecting “one” will turn the alarm feature off. Picking “two” will activate it.
Set Day Brightness: Turn knob to “four” and push/click. Turn the knob to pick a light value that is displayed on the clock. Push/click the knob to save a value. The clock will return to normal operation. The clock will use this brightness during the day.
Set Night Time Brightness: Turn knob to “five” and push/click. Repeat instructions in set daylight brightness. The clock will use this brightness level at night.
At any point in the settings, the top button can be pressed to exit settings.
Changing the alarm tone
- Find a song or audio you like
- Go to this website: https://online-audio-converter.com/ and upload the audio
- Select WAV and slide audio quality to tape
- Select advanced options, and change channels to 1
- Download the audio and rename it to “alarm”
- Gently pull the back of the clock off and remove the SD card from the adapter in the top left
- Plug into the computer and copy/pace to replace the audio on the SD card
- Slide the SD card in the clock SD card slot until it clicks, and reattach the back of the clock.
The ringtone of the alarm has been changed
Additional Help
We’re here to make sure you have a smooth experience with your word clock, so reach out to us with any questions!

